gear
How to Descale a Keurig (With or Without Solution)
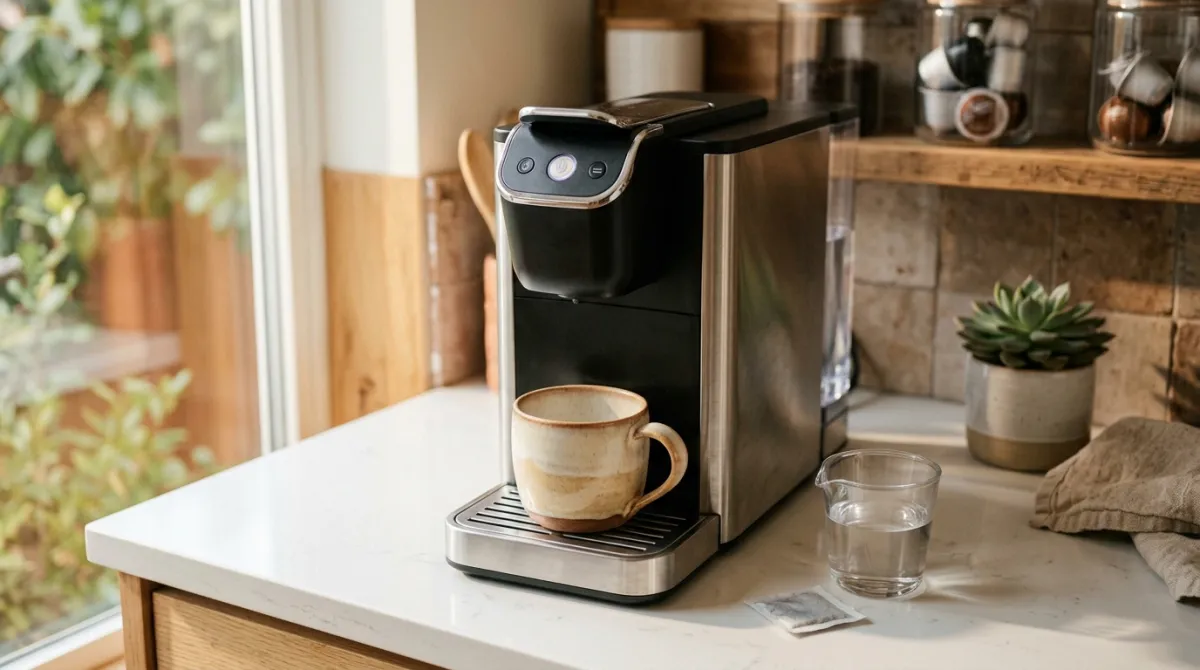
Descaling a Keurig means flushing out the mineral buildup that collects inside the machine over time. If you want to know how to descale a Keurig, the short version is simple: empty the reservoir, remove the water filter, run descaling solution or plain white vinegar through the brewer without a K-Cup, let it sit, then rinse with several water-only cycles. I have run this routine on my own Keurig for years, and it takes about 45 minutes start to finish. Most of that is waiting.
Hard water is the culprit. Every cup you brew leaves behind a little calcium and magnesium, and those minerals slowly narrow the internal tubing. A vinegar session or a proper solution flush clears that scale and gets your machine brewing hot and fast again.
Key Takeaways
- Descale your Keurig every 3 to 6 months, or sooner if you have hard water or the descale light comes on.
- You can use official descaling solution or plain white vinegar; both work well.
- Always remove the water filter and empty the reservoir before you start.
- Rinse thoroughly afterward with several full reservoirs of plain water so no taste lingers.
- Filtered water and a dry reservoir slow scale buildup between deep cleans.
How do you descale a Keurig?
You descale a Keurig by running an acidic cleaning liquid through the machine to dissolve mineral scale, then rinsing it out. The process is the same across most models, even though the buttons and lights differ. In my experience, the actual technique matters far more than the brand of solution you pick.
Here is the core sequence I follow every time:
- Turn the brewer on, then empty the water reservoir completely.
- Remove and discard the water filter cartridge if your model has one.
- Fill the reservoir with descaling solution or a vinegar-and-water mix.
- Place a large mug on the drip tray, lift and lower the handle with no pod inside, and run a cleansing brew.
- Repeat brew cycles until the reservoir is empty, dumping the mug as needed.
- Let the machine sit for 30 minutes so the solution can work.
- Refill with plain water and run several rinse cycles until the taste and smell are gone.
That last step trips up more people than any other. Rinse more than you think you need to.
Why descaling matters and how often to do it
Descaling matters because scale buildup directly hurts performance. As mineral deposits coat the heating element and tubing, your Keurig heats slower, brews weaker, and eventually sputters or stops mid-cup. Left long enough, scale can shorten the life of the machine. Regular cleaning is the cheapest repair you will ever do.
How often should you descale? A good rule of thumb is every 3 to 6 months for most households. If you brew several cups a day or live in a hard-water area, lean toward the shorter end. Keurig generally recommends descaling about every three months, and that schedule has served me well.
I once let mine slide for close to a year. The brewer took nearly twice as long to heat, and the first cup each morning came out barely warm. One descale session fixed both problems completely, which told me the scale was the whole issue.
There is a difference between descaling and general cleaning, worth noting here. Wiping the exterior, washing the drip tray, and cleaning the pod holder handle everyday grime. Descaling targets the hidden mineral scale inside the water path. You need both, just on different schedules. If you run a standard drip machine rather than a pod brewer, see how to clean a coffee maker with vinegar.
How to descale a Keurig with descaling solution
Descaling solution is the manufacturer-recommended option, and it is formulated to dissolve scale without leaving a strong odor. The steps are straightforward. Pour the full bottle of solution into an empty reservoir, then add an equal amount of water unless your product label says otherwise. Always follow the ratio printed on the bottle you buy.
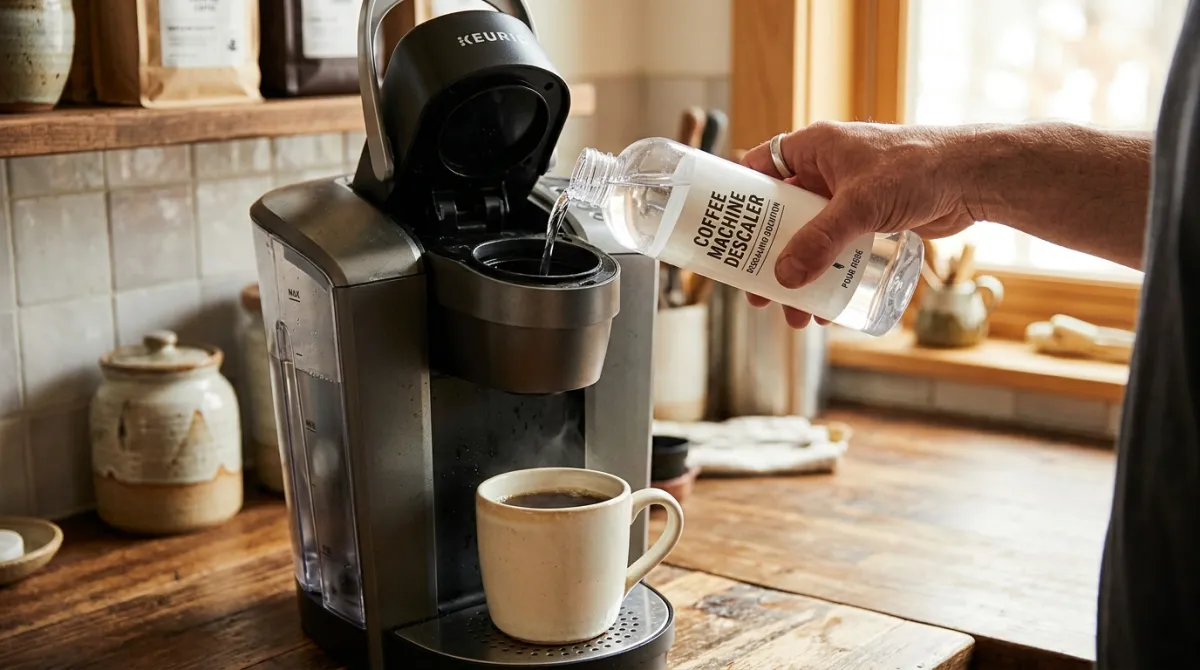
Run the machine through repeated brew cycles with no pod, catching the liquid in a mug and emptying it between cycles. When the reservoir runs dry, switch the brewer off and let it rest for at least 30 minutes. This soak time is where the real dissolving happens, so do not skip it.
After the soak, empty any remaining solution and rinse. Fill the reservoir with fresh water and run at least 12 brew cycles, or enough to cycle through several full reservoirs. You want zero cleaning residue left behind.
How to descale a Keurig with vinegar
Plain white vinegar is the classic budget alternative, and it works because its acetic acid dissolves the same minerals that commercial solutions target. Use ordinary 5 percent white vinegar from the grocery store. Do not use concentrated cleaning vinegar, which is far stronger and harder to rinse out fully.
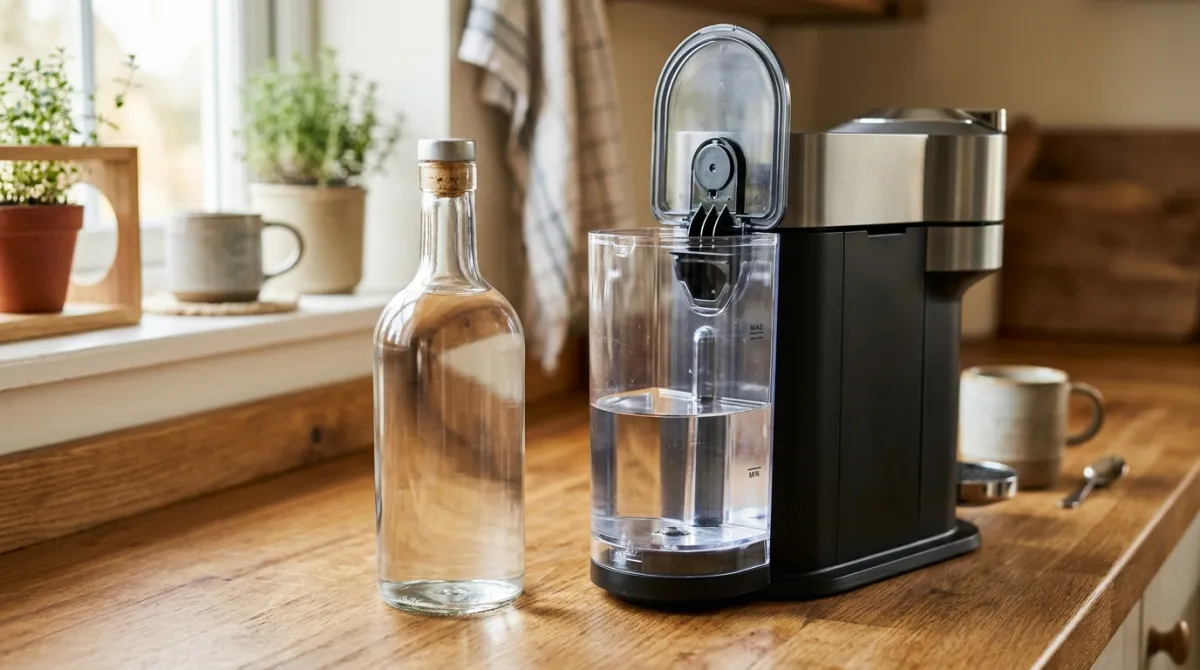
Fill the reservoir with roughly equal parts white vinegar and water. So if your reservoir holds about a liter, use around half vinegar and half water. Remove the water filter first, then run brew cycles with no pod, emptying the mug as you go. When the reservoir empties, let the machine sit for 30 minutes to an hour so the vinegar can break down the scale.
The single biggest mistake I see is under-rinsing after a vinegar descale. Vinegar clings to the plastic tubing more stubbornly than people expect. I run a bare minimum of one full reservoir of plain water, usually two, cycling through until I cannot smell or taste any tang in the mug. If cup number one still tastes sharp, run another rinse reservoir. It is that simple.
Vinegar and solution get similar results. Solution smells milder and rinses a touch easier; vinegar costs almost nothing and sits in most kitchens already. Either one gets your machine clean.
What to do when the descale light stays on
A stuck Keurig descale light usually means the machine still senses buildup or has not registered a completed cycle. First, do not panic. The light is a reminder, not a fault code, and a few simple checks clear it in most cases.
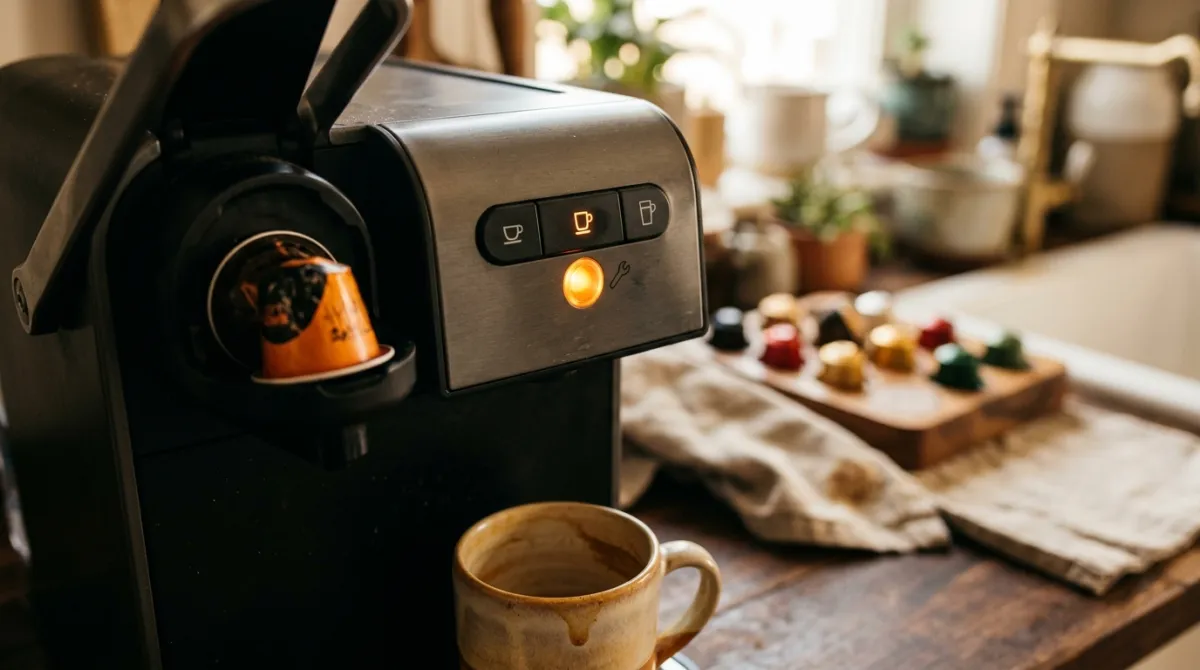
Start with these fixes:
- Complete the full descale cycle. A partial flush often will not reset the sensor. Run the entire process, soak, and rinse from start to finish.
- Clean the exit needle. Scale and coffee grounds clog the small needle that pierces the pod. A straightened paperclip or the Keurig cleaning tool clears it.
- Remove and reseat the reservoir. Lift the water tank out, wipe the base, and set it firmly back in place so the contacts seat correctly.
- Reset the machine. Reset steps vary by model, so check your manual for the exact sequence. Powering off, unplugging for a minute, and restarting resolves many stuck lights.
If the light persists after a complete descale and a reset, the sensor may need another full cleaning pass. Repeat the descale once more before assuming a hardware problem. In my experience, a second thorough cycle clears the stubborn cases.
How to keep your Keurig from scaling up
Prevention is easier than descaling, and a few habits stretch the time between deep cleans. Scale forms from minerals in your water, so the less mineral content you introduce, the slower it builds. Small routines make a real difference over months of daily brewing.
Here is what keeps mine running clean:
- Use filtered water. Filtered or bottled water carries fewer minerals than hard tap water, which is the number one driver of scale. Avoid distilled water in some models, though, since a few need mineral content to read the water level correctly. Check your manual.
- Empty the reservoir when you are away. Standing water concentrates minerals and can grow film. I dump mine if I know I will skip a day or two.
- Wipe the reservoir dry. Every week or so, empty it, rinse it, and wipe it dry before refilling. This limits mineral rings and buildup.
- Descale on schedule. Do not wait for the light. Mark a calendar reminder every 3 to 6 months so scale never gets a head start.
Switching to filtered water was the biggest single change for me. My descale sessions went from feeling urgent to feeling routine, and the machine has held its brew temperature consistently ever since.
Frequently asked questions
Can I descale my Keurig with vinegar?
Yes, you can descale a Keurig with plain white vinegar, and it works well. Use ordinary 5 percent white vinegar, not concentrated cleaning vinegar. Mix it with roughly equal parts water, run it through without a pod, let it soak, then rinse thoroughly with several water-only cycles until no taste remains.
How much vinegar to descale a Keurig?
Use roughly equal parts white vinegar and water in the reservoir. For a typical reservoir, that means filling about half with vinegar and half with water. This ratio is strong enough to dissolve scale without being wasteful, and it rinses out cleanly when you follow with several full reservoirs of plain water.
How often should I descale my Keurig?
Descale every 3 to 6 months for most households. If you brew multiple cups daily or have hard water, aim for every three months. If the descale light appears sooner, treat that as your cue to run a cleaning cycle regardless of the calendar.
Why is my Keurig descale light still on after descaling?
The light usually stays on because the cycle was not fully completed or the sensor still detects buildup. Run the entire descale, soak, and rinse process without stopping. Then clean the needle, reseat the reservoir, and reset the machine. Reset steps vary by model, so check your manual for exact instructions.
Keeping your Keurig clean is genuinely one of the easiest ways to protect your morning cup, and now you have every method you need. Pick solution or vinegar, follow the steps, and rinse well. Ready for more? Check out our more brewing guides for tips on dialing in flavor, cleaning gear, and getting the most from every brew.
Keep brewing
Dial in your next cup with Brew Better Co.
Tested ratios, methods, and gear notes from a real home kitchen. New guides added regularly.
Explore all guides