methods
The Best AeroPress Recipe (Plus the Ratios That Work)
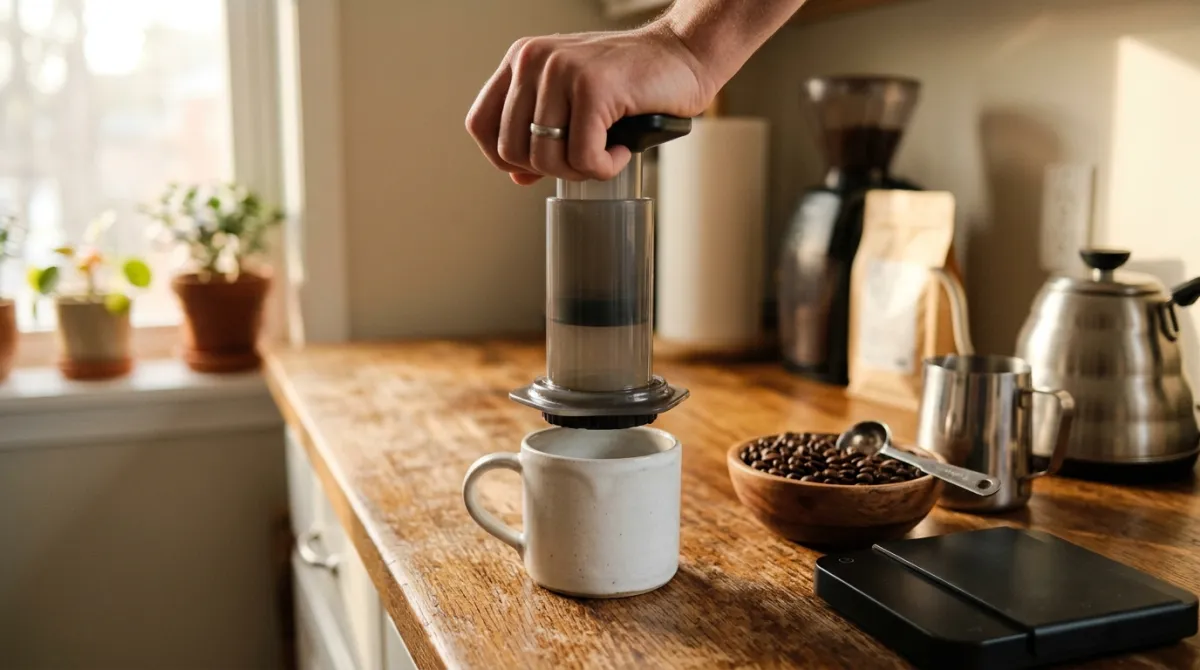
Ever pulled an AeroPress cup that tasted thin one day and harshly bitter the next? You are not alone. After brewing daily for more than a decade, I have landed on one dependable AeroPress recipe that I reach for every single morning, and it forgives small mistakes.
Here is the short answer before we go deeper: use about 16 grams of coffee to 240 grams of water, a roughly 1:15 ratio, medium-fine grind, water around 175 to 185°F, steep for 1 to 2 minutes, then press for 20 to 30 seconds. That is the whole thing. Everything below explains why it works and how to bend it to your taste.
Key Takeaways
- Start with 16 g coffee to 240 g water, a 1:15 ratio, for a balanced everyday cup.
- Grind medium-fine, a touch finer than drip, for even extraction.
- Use water around 175 to 185°F, cooler than a rolling boil.
- Steep 1 to 2 minutes, then press slowly for 20 to 30 seconds.
- Adjust one variable at a time: grind, ratio, or temperature.
The best AeroPress recipe (quick version)
Want the fast version? Here it is, no fluff. Dose 16 grams of coffee, add 240 grams of water near 180°F, stir, steep for about 90 seconds, then press gently over 25 seconds. That single ratio, close to 1:15, gives you a clean, sweet, medium-strength cup that suits most beans.
This is my go-to because it is repeatable. The best AeroPress recipe is not the fanciest one; it is the one you can nail half-asleep. I have served this exact method to guests who swore they hated black coffee, and they finished the mug.
If you like your coffee stronger, nudge the coffee up to 17 grams. If you find it heavy, drop to 15 grams and keep the water the same. Small moves, big flavor shifts.
What you need for this AeroPress recipe
You do not need much gear to brew a great cup, which is part of the AeroPress charm. Here is the short list I keep on my counter, and none of it is exotic or expensive.
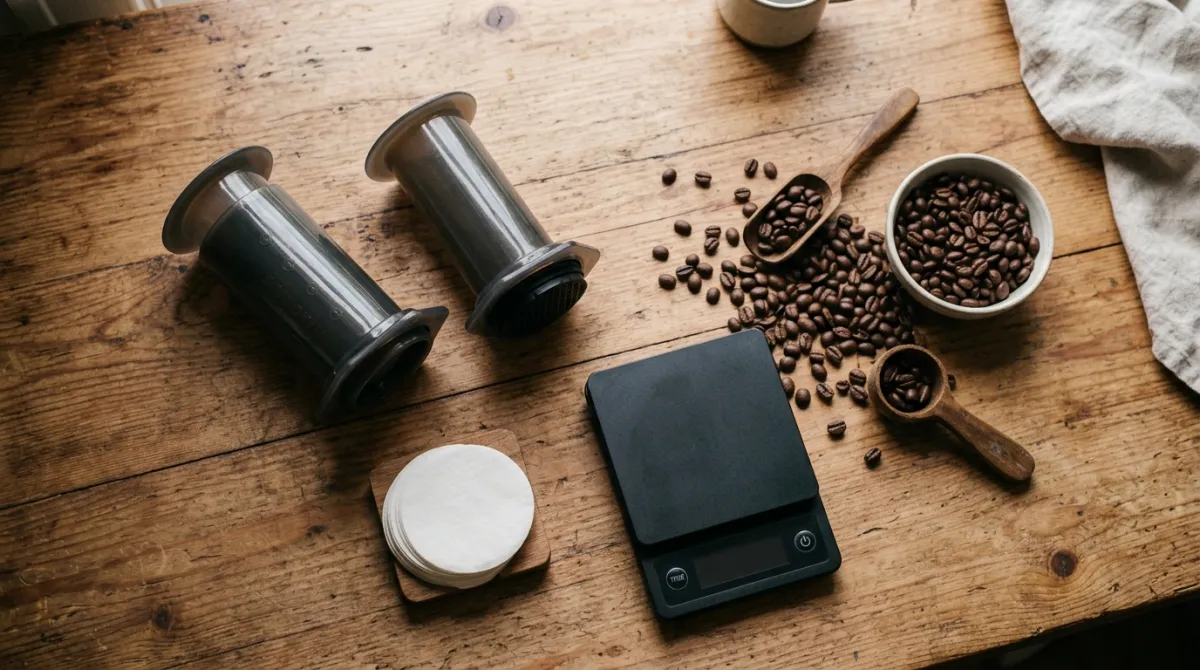
The essentials:
- An AeroPress with a paper filter (or a reusable metal one)
- A burr grinder for even grounds
- A kitchen scale that reads in grams
- A kettle, ideally gooseneck, though any kettle works
- Fresh whole-bean coffee, roasted within the last month
A scale matters more than people expect. Measuring by scoop feels convenient, but one level tablespoon of ground coffee is only about 5 grams, so your 16 grams is roughly 3 tablespoons. Scoop density varies with grind and bean, and that drift is why your cup changes day to day.
If you are brewing without a scale in a hotel room, 3 level tablespoons of grounds to a filled AeroPress chamber gets you close. At home, though, weigh it. The consistency is worth the ten seconds.
Step by step: my everyday AeroPress recipe
This is the routine I have refined over years of morning brews. It takes about three minutes start to finish. Read it once, and you will have it memorized by tomorrow.
Prep and dose
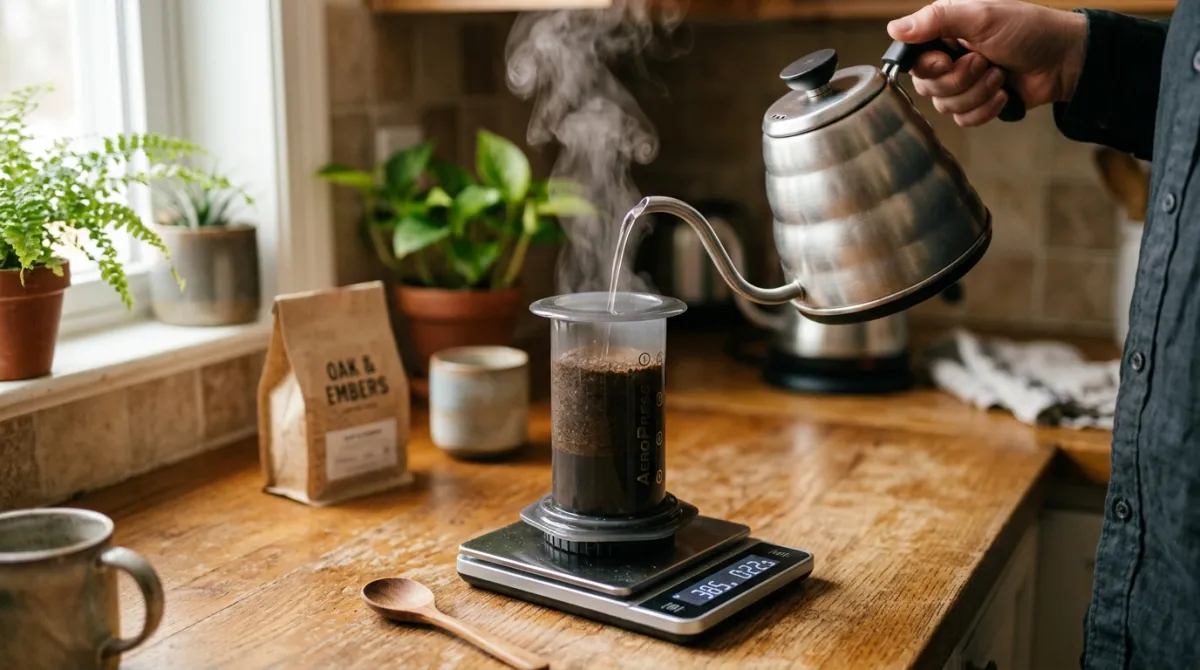
Heat your water to roughly 175 to 185°F. If you do not have a thermometer, boil the kettle and let it rest for 45 to 60 seconds. Meanwhile, grind 16 grams of coffee at a medium-fine setting and place a paper filter in the cap.
Rinse and assemble
Rinse the paper filter with a little hot water. This washes away papery flavors and warms your mug. I set the AeroPress in the standard position, chamber up, on top of a sturdy cup.
Pour and steep
Add your 16 grams of grounds, then pour all 240 grams of water in one steady stream. Give it a gentle stir, three or four turns, to wet every ground evenly. Pop the plunger on top to hold heat, and let it steep for 60 to 90 seconds.
Press
Press down slowly and steadily over 20 to 30 seconds. You want light, even pressure, not a shove. Stop the moment you hear that hiss of air. Going past it pulls bitter notes into the cup. Swirl your mug, taste, and adjust tomorrow.
In my experience, the most common mistake here is rushing the press. Slow hands make sweeter coffee.
The AeroPress ratio and grind size
The AeroPress ratio I trust most sits around 1:15, meaning one gram of coffee for every 15 grams of water. At 16 grams of coffee, that is 240 grams of water. Do the math yourself and it holds: 240 divided by 15 equals 16. Keep those numbers locked together and your results stay predictable.
Ratio is the single biggest lever for strength. A tighter ratio like 1:13 (roughly 18 grams to 240 grams) brews bold and syrupy, closer to a concentrate you can dilute. A looser ratio like 1:16 or 1:17 drinks lighter and more tea-like. Most palates land happily between 1:14 and 1:16.
If you want the full picture on how strength scales across brew methods, my pillar guide on coffee to water ratio breaks it down with tables. The same logic that governs an AeroPress also shapes your pour over coffee ratio, so learning one teaches you the other.
Grind size is your second lever. For this recipe, aim for medium-fine, a little finer than drip but coarser than espresso. Think table salt, not powder. The Specialty Coffee Association stresses grind consistency for even extraction (Specialty Coffee Association), and this is where a burr grinder earns its keep. Blade grinders produce uneven chunks and dust, which brew unevenly and taste muddy.
Here is a simple rule I follow: if your coffee tastes sour or weak, grind finer. If it tastes bitter or harsh, grind coarser. One notch at a time.
Standard vs inverted method
Two camps exist in the AeroPress world, and both make excellent coffee. The standard method brews right-side up, pressing down onto your cup. The inverted method flips the whole thing upside down during the steep, then you flip it back to press. I use standard on weekday mornings and inverted when I am chasing a specific flavor.
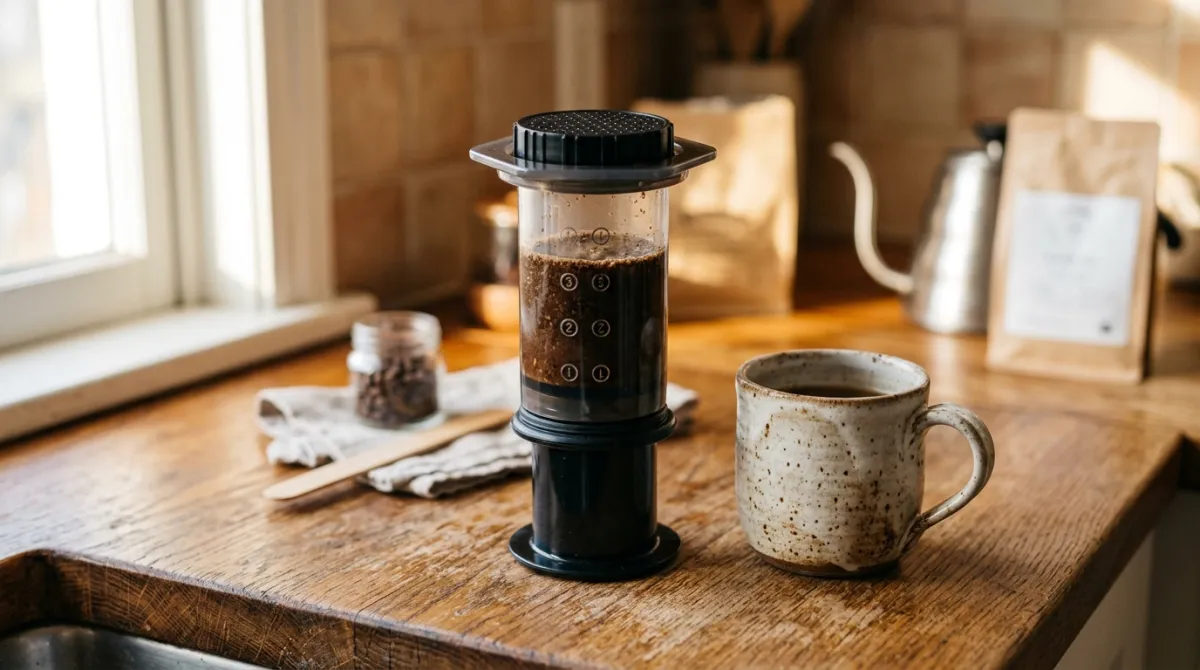
The standard method
In the standard position, the chamber sits on your mug with the filter cap on the bottom. It is fast, tidy, and hard to spill. The tradeoff is a small amount of early dripping through the filter before you press, which slightly shortens your steep. For an everyday brew, that drip is negligible.
Pros: simple, stable, quick cleanup, beginner-friendly. Cons: minor dripping during steep, less control over total steep time.
The inverted method
The inverted method puts the plunger on the bottom and the open chamber on top, so nothing drips out while it steeps. You get full control over contact time, which many enthusiasts prefer for delicate, high-clarity coffees. When the steep finishes, you cap it, flip it onto your mug, and press.
Pros: no early dripping, total steep control, favored for experimentation. Cons: the flip can be messy or dangerous.
A real safety note here: the inverted flip involves a chamber full of hot water balanced above your cup. I have splashed my hand more than once early on. Make sure the cap is seated tightly, hold the assembly firmly, and flip over a sink until you are comfortable. If you are brewing with kids nearby, standard is the safer pick.
Honestly, the flavor gap between the two is smaller than the internet suggests. Dial in your grind and ratio first. The method is a finishing touch, not the foundation.
How to adjust the recipe to taste
The beauty of a good base recipe is that it gives you a stable starting point to tweak. Change one variable at a time, brew, taste, and note what happened. Chasing three changes at once just leaves you confused about what worked.
If your cup tastes sour or thin: your coffee is likely under-extracted. Grind finer, bump the coffee to 17 grams, or raise your water temperature toward 185°F. Sourness usually means you did not pull enough out of the grounds.
If your cup tastes bitter or hollow: you have probably over-extracted. Grind coarser, drop to 15 grams, lower the temperature, or shorten the steep. Bitterness means you pulled too much.
If it tastes flat overall: check your beans first. Coffee older than a month loses its spark no matter how well you brew. Freshness beats technique every time.
Different roasts want different handling, too. Lighter roasts, which are denser, like hotter water and a slightly finer grind. Darker roasts, more soluble and fragile, prefer cooler water near 175°F to avoid ashy bitterness. This is the kind of nuance that separates a decent cup from a memorable one, and it is why I keep a small brewing log by my grinder.
Learning how to use an AeroPress well is really just learning to read your own cup and respond. Give it a week of small adjustments and you will dial in a recipe that feels custom-built for your beans and your taste.
Frequently asked questions
What is the ratio for AeroPress?
A reliable AeroPress ratio is about 1:15, meaning 16 grams of coffee to 240 grams of water. That produces a balanced, medium-strength cup. If you want it bolder, tighten toward 1:13; for a lighter, tea-like cup, loosen toward 1:16 or 1:17. Adjust in small steps and taste as you go.
How much coffee for an AeroPress?
For a single strong mug, use 15 to 17 grams of coffee, which is roughly 3 level tablespoons since one tablespoon of grounds is about 5 grams. Pair that with 230 to 250 grams of water for a balanced cup. Weighing your dose on a scale keeps every brew consistent, morning after morning.
Is inverted AeroPress better?
Not necessarily better, just different. The inverted method prevents early dripping and gives you full control over steep time, which some brewers prefer for delicate coffees. The tradeoff is a hot, slightly risky flip. Get your grind and ratio right first; those matter far more to flavor than which method you choose.
What grind size for AeroPress?
Use a medium-fine grind, a touch finer than drip coffee and coarser than espresso, roughly the texture of table salt. A burr grinder gives the even particles you need, since consistency drives clean extraction. If your coffee tastes sour, grind finer; if it tastes bitter, grind coarser, one adjustment at a time.
Ready to keep refining your morning cup? Start with the 1:15 recipe above, brew it for a week, and tweak one thing at a time until it sings. When you are ready to explore other methods and dial in every variable, browse my collection of more brewing guides and find your next favorite pour.
Keep brewing
Dial in your next cup with Brew Better Co.
Tested ratios, methods, and gear notes from a real home kitchen. New guides added regularly.
Explore all guides