ratios
Pour Over Coffee Ratio: The Chart for a Clean, Sweet Cup
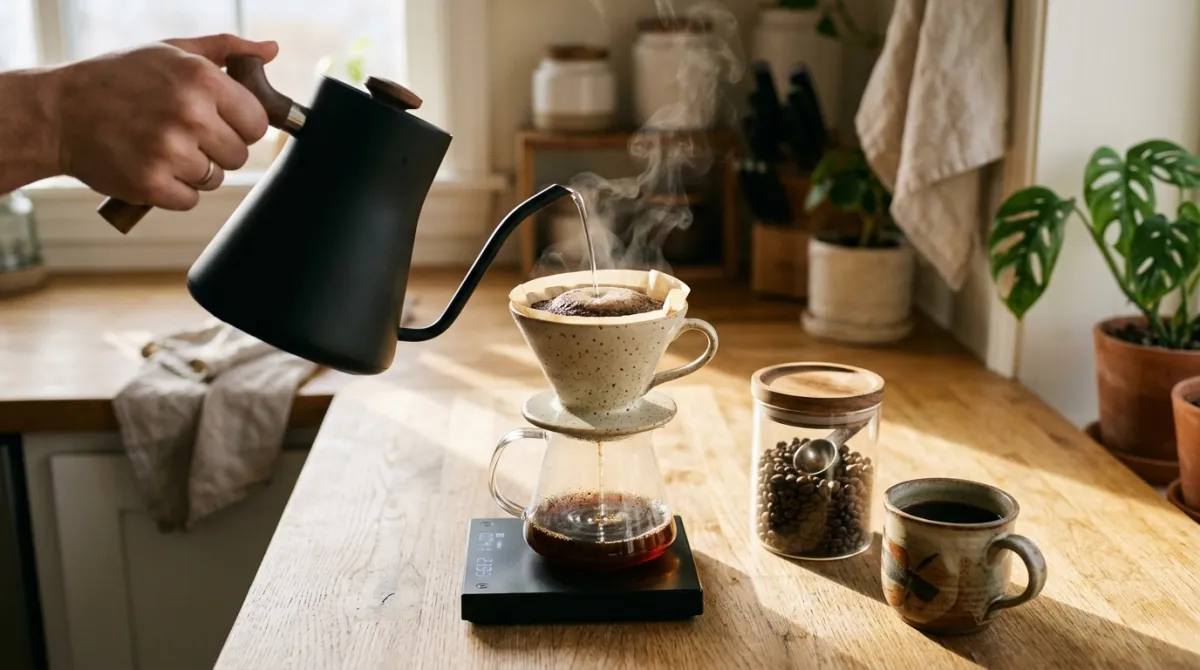
Pour over coffee lives and dies by one number: your pour over coffee ratio. Get it right and you pull sweet, clear, balanced cups every morning. Get it wrong and even great beans taste thin, sour, or harsh.
After brewing by hand every day for more than a decade, I keep coming back to the same simple range. Dial that in first, and everything else about your brew gets easier.
Key Takeaways
- The best pour over coffee ratio sits between 1:15 and 1:17 by weight, with 1:16 as a reliable default.
- At 1:16, use about 16 g of coffee for 250 g of water, or 31 g for 500 g.
- A repeatable, weighed ratio is the foundation of balanced extraction.
- Weigh your coffee and water with a scale for repeatable results.
- Grind medium (like table salt), bloom for 30 to 45 seconds, and aim for a 2.5 to 3.5 minute brew.
What is the best pour over coffee ratio?
The best pour over coffee ratio is between 1:15 and 1:17 coffee to water by weight, with 1:16 as the balanced default. That means 1 gram of coffee for every 16 grams of water. The Specialty Coffee Association promotes the “golden ratio” idea as the foundation of balanced extraction (Specialty Coffee Association).
Why a range instead of one magic number? Because taste is personal. A lower ratio like 1:15 gives you a stronger, bolder cup. A higher ratio like 1:17 brews lighter and more tea-like.
In my experience, 1:16 is the sweet spot for most beans and most brewers. It forgives small mistakes and still tastes clean. Start there, then adjust by taste.
This same logic runs across every brew method. If you want the bigger picture, our coffee to water ratio pillar guide breaks down how the numbers shift from drip to espresso.
Pour over ratio chart by cup size and strength
At 1:16, a single 250 g cup needs about 16 g of coffee, roughly 3 level tablespoons. The chart below covers three common water amounts at all three ratios. It assumes 1 level tablespoon of ground coffee weighs about 5 grams, which matches most medium grinds I have weighed on a scale.
| Water (g / ml / fl oz) | 1:15 (strong) | 1:16 (balanced) | 1:17 (light) |
|---|---|---|---|
| 250 g / 250 ml / 8.5 fl oz | 16.7 g (~3 tbsp) | 15.6 g (~3 tbsp) | 14.7 g (~3 tbsp) |
| 350 g / 350 ml / 11.8 fl oz | 23.3 g (~5 tbsp) | 21.9 g (~4 tbsp) | 20.6 g (~4 tbsp) |
| 500 g / 500 ml / 16.9 fl oz | 33.3 g (~7 tbsp) | 31.3 g (~6 tbsp) | 29.4 g (~6 tbsp) |
Read it like this: pick your cup size on the left, then choose a strength column. The math is just water divided by the ratio. For 500 g at 1:16, that is 500 divided by 16, which is 31.3 g, rounding to about 6 tablespoons.
Tablespoons are a backup, not a replacement for a scale. They drift as grind size and bean density change. When precision matters, weigh.
How to measure your pour over ratio
A digital scale is the single best upgrade for consistent pour over, and it costs less than a decent bag of beans. Weighing beats scooping because ground coffee density varies by roast and grind, so a “tablespoon” is never quite the same twice.
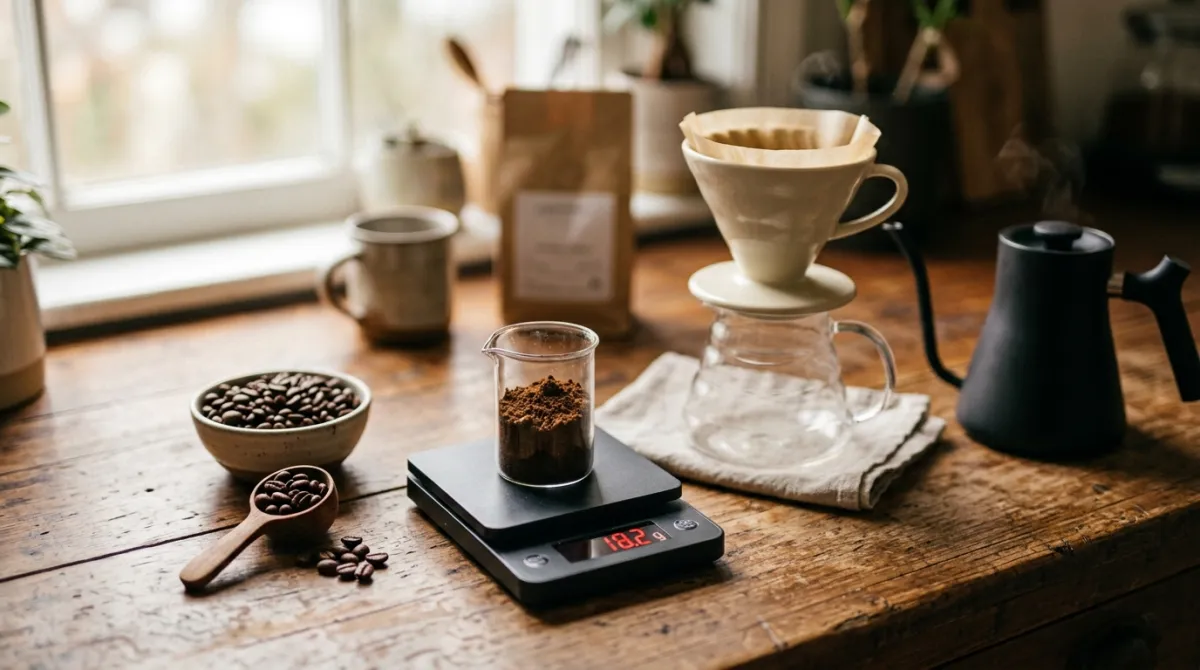
Here is the routine I follow every morning.
Weigh the coffee first
Place your grinder catch cup on the scale, zero it, then grind your target dose. For a 350 g brew at 1:16, that is about 22 g of coffee.
Weigh the water as you pour
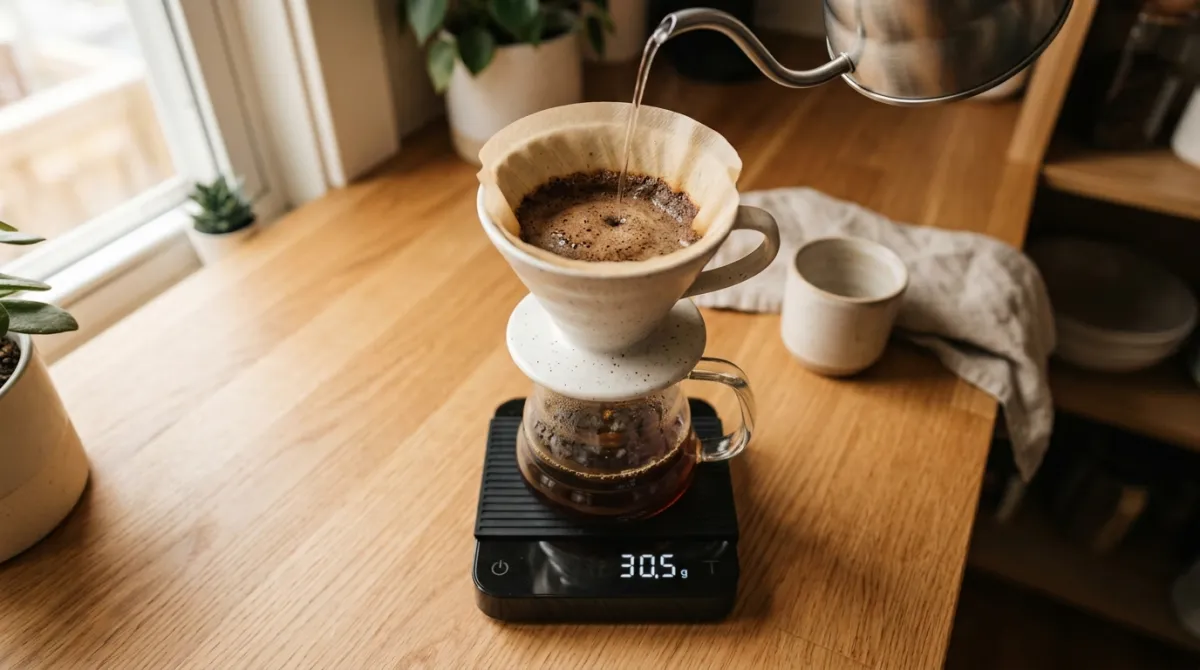
Set your brewer and filter on the scale, add the grounds, and tare to zero. Now pour water directly onto the bed and watch the number climb to your target. This one habit fixed more bad cups for me than any gear upgrade.
Keep notes
Jot down the ratio, grind setting, and brew time. Small records make it easy to repeat a great cup or fix a bad one.
Grind size and pour technique the ratio depends on
Your ratio only works if grind and pour cooperate, and water temperature should sit between 195 and 205°F for proper extraction (National Coffee Association). Too cool and the cup turns sour. Too hot and you over-extract the coffee and push it toward bitterness.
Aim for a medium grind, about the texture of table salt. That is finer than what you would use for French press but coarser than espresso. If your brew finishes too fast and tastes weak, grind finer. If it stalls and turns bitter, grind coarser.
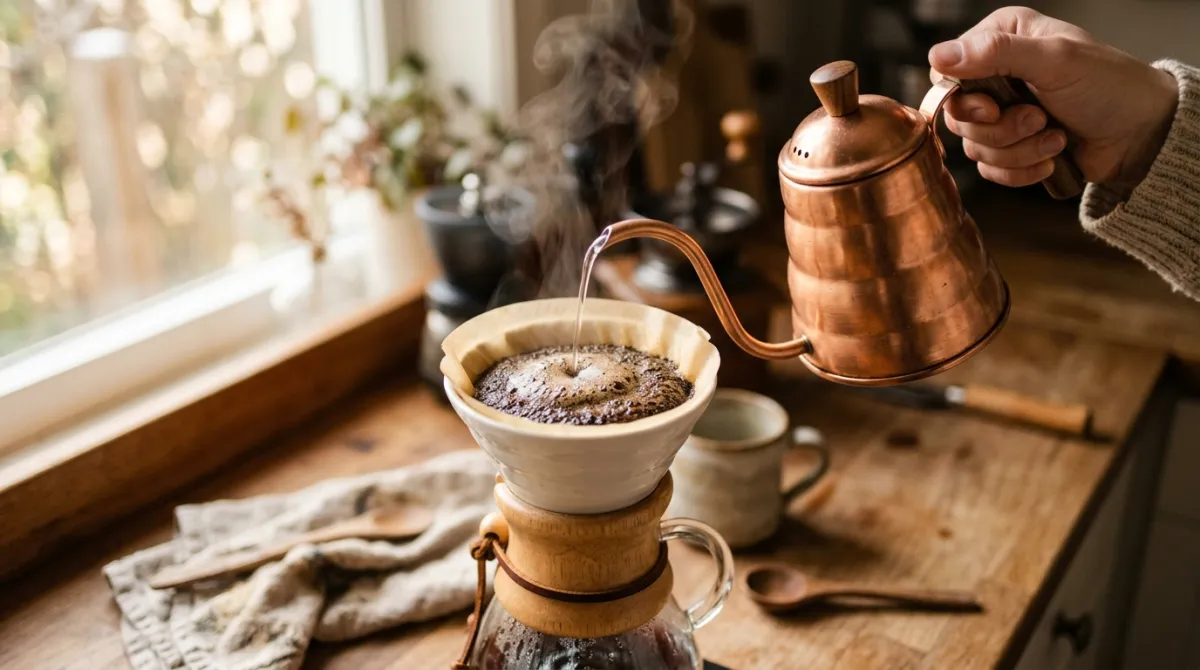
For the pour itself, start with the bloom. Add water equal to roughly twice your coffee weight, so about 44 g of water for 22 g of coffee, then wait 30 to 45 seconds. This lets trapped gas escape so water can reach the grounds evenly.
After the bloom, pour in slow, steady circles from the center outward. Keep the bed level and avoid blasting the sides. Total brew time should land around 2.5 to 3.5 minutes for a single cup.
Grind is the variable most home brewers ignore. Two baristas can use the exact same 1:16 ratio and get wildly different cups purely from grind size. That is the lever I reach for before touching the ratio.
How to adjust the ratio for a stronger or weaker cup
Move the ratio in small steps: shift by one whole number and taste before you change anything else. Going from 1:16 to 1:15 adds noticeable body and intensity. Going from 1:16 to 1:17 lightens the cup and highlights delicate, tea-like notes.
Want a stronger cup? Drop the ratio toward 1:15, which means more coffee per gram of water. Want something gentler for an afternoon pour? Climb toward 1:17.
One caution from years of tinkering: do not fix strength by starving the brew of water. Under-pouring wrecks extraction and leaves you with a sour, hollow cup instead of a bold one. Change the ratio, not the pour volume, when you want more punch.
If you brew other methods too, remember the ranges differ. Immersion styles like the French press coffee ratio often run stronger because the grounds steep longer. Prefer something portable? The AeroPress recipe lands around 1:15 too.
Common pour over ratio mistakes
The most common mistake I see is skipping the scale and eyeballing scoops, which throws the ratio off before the first drop even lands. From there, everything downstream suffers, and folks blame the beans.
Here are the errors worth avoiding.
Guessing your dose. A heaping scoop can hold nearly double a level tablespoon. Weigh instead.
Ignoring water weight. If you dose coffee precisely but pour water by eye, your ratio is still a guess. Tare and watch the scale.
Wrong grind for the ratio. A fine grind at a low ratio over-extracts fast. Match grind to your target strength.
Rushing the bloom. Skipping those 30 to 45 seconds leaves gas in the bed, and water channels around it. Give it time.
Chasing strength with less water. As covered above, that path leads to sour, not strong.
Fix these five and your 1:16 default will taste better than most cafe pour overs.
Frequently asked questions
What is the ratio for pour over coffee?
The standard pour over coffee ratio is 1:16, meaning 1 gram of coffee for every 16 grams of water. The broader accepted range runs from 1:15 for a stronger cup to 1:17 for a lighter one. That is my everyday recommendation, and it sits comfortably inside the golden-ratio zone most specialty brewers use.
How much coffee for a 2 cup pour over?
For a 2 cup pour over using about 500 g of water, use roughly 31 g of coffee at the balanced 1:16 ratio. That is close to 6 level tablespoons. Prefer a bolder cup? Drop to 1:15 and use about 33 g, or around 7 tablespoons.
Is pour over 1:15 or 1:16?
Both work, and the choice comes down to taste. Use 1:15 when you want a stronger, fuller cup with more body. Use 1:16 for a balanced, clean default that suits most beans. I start new coffees at 1:16, then nudge toward 1:15 if they taste thin.
How many grams of coffee for pour over?
It depends on your water amount and ratio. At 1:16, use about 16 g of coffee per 250 g of water, 22 g per 350 g, or 31 g per 500 g. Weigh both coffee and water on a scale for the most consistent, repeatable results every time.
Ready to sharpen the rest of your setup? Explore more brewing guides for grind tips, gear picks, and step-by-step recipes that build on the ratios you just learned.
Keep brewing
Dial in your next cup with Brew Better Co.
Tested ratios, methods, and gear notes from a real home kitchen. New guides added regularly.
Explore all guides