methods
How to Use a Percolator (Stovetop and Electric)
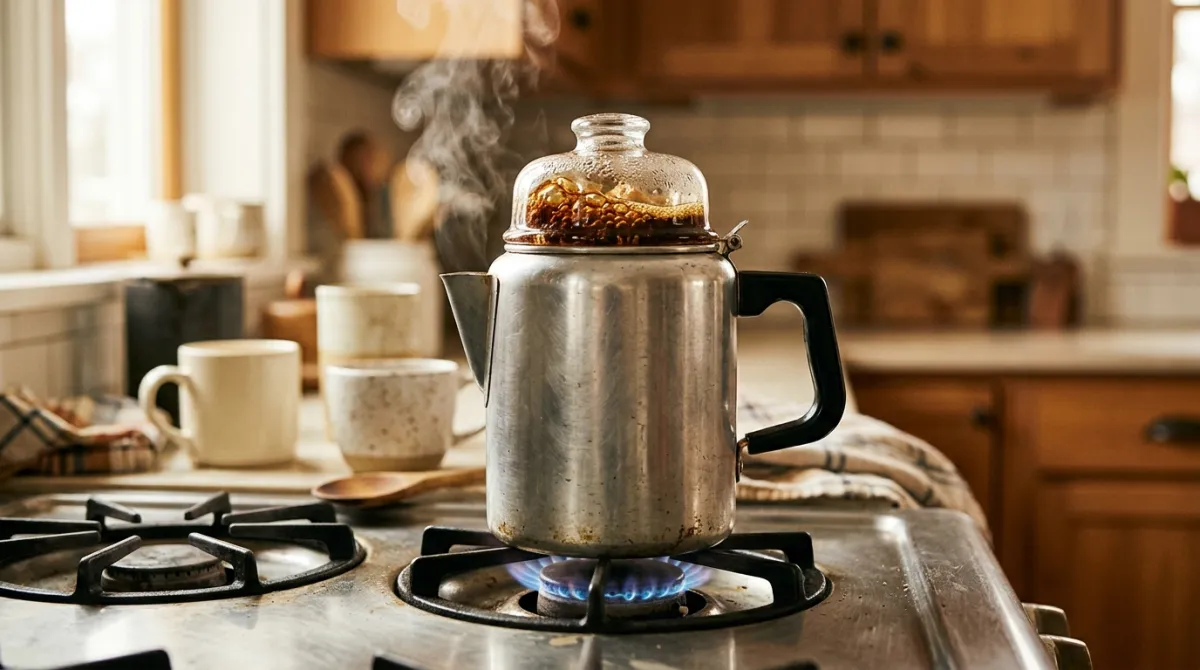
Ever wondered how to use a percolator without ending up with a bitter, muddy cup? You are not alone. This old-school brewer looks intimidating, but the method is simple once you understand what happens inside that little pot.
A percolator brews by cycling boiling water up through a central tube and raining it down over the grounds again and again. You add water to the base, coarse grounds to the basket, then heat until it perks. Let it perk gently for about 7 to 10 minutes, pull it off the heat, and pour. That is the whole trick.
Key Takeaways
- A percolator recirculates boiling water up a stem and down through the grounds until the coffee reaches the strength you want.
- Use a coarse grind and about 2 to 3 tablespoons of coffee per 8-ounce cup of water (roughly 10 to 15 grams, near a 1:16 golden ratio by weight).
- Perk gently for 7 to 10 minutes, then remove from heat. Longer and hotter turns the cup bitter.
- Electric models handle the timing and shut off on their own.
How do you use a percolator?
To use a percolator, fill the base with cold water, load the basket with coarse grounds, assemble the pot, and heat it until you hear and see it perking. Keep a slow, steady perk going for 7 to 10 minutes, then take it off the burner right away.
The reason timing matters so much comes down to recirculation. Unlike a drip machine, water passes over the same grounds many times. That repeated contact extracts flavor fast, and it keeps extracting the longer you let it run. In my experience, the gap between “rich and balanced” and “harsh and bitter” is only a couple of minutes.
Think of the perk as a rhythm you manage. You want a gentle bubbling, not a rolling boil. If you nail that, a percolator makes a bold, full-bodied cup with a nostalgic character no other brewer quite matches.
What you need: stovetop vs electric percolator
Both types work on the same principle, but they differ in how much you have to babysit them. A stovetop percolator sits on your burner and depends entirely on you to watch the heat and time. An electric percolator plugs in, heats itself, cycles automatically, and switches to a keep-warm mode when the coffee is ready.
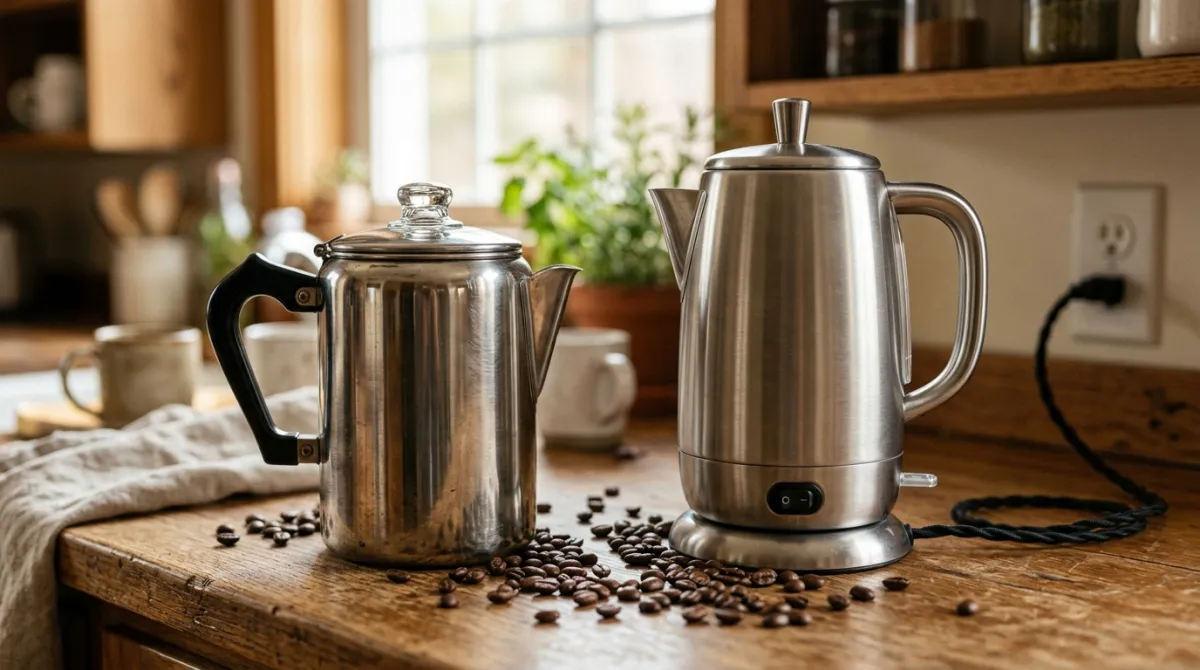
Here is a quick side-by-side.
| Feature | Stovetop percolator | Electric percolator |
|---|---|---|
| Heat source | Your burner (gas or electric) | Built-in heating element |
| Timing | You watch and pull it off | Automatic shutoff |
| Best for | Camping, stovetop control, travel | Countertop convenience, batches |
| Learning curve | Steeper, more hands-on | Nearly hands-off |
For a stovetop percolator, you also need a heat source you can dial down. A burner stuck on high is the fastest route to bitter coffee. Electric versions remove that guesswork, which makes them a friendly starting point if you are new to perking.
Whichever you choose, you will need coarse coffee, fresh water, and a minute to preheat your patience. The gear is simple. The technique is where the results live.
How to use a percolator step by step
The stovetop method rewards attention, so here is exactly how I run mine. Follow these steps in order and you will get a clean, strong cup without the burnt edge that gives percolators a bad reputation.
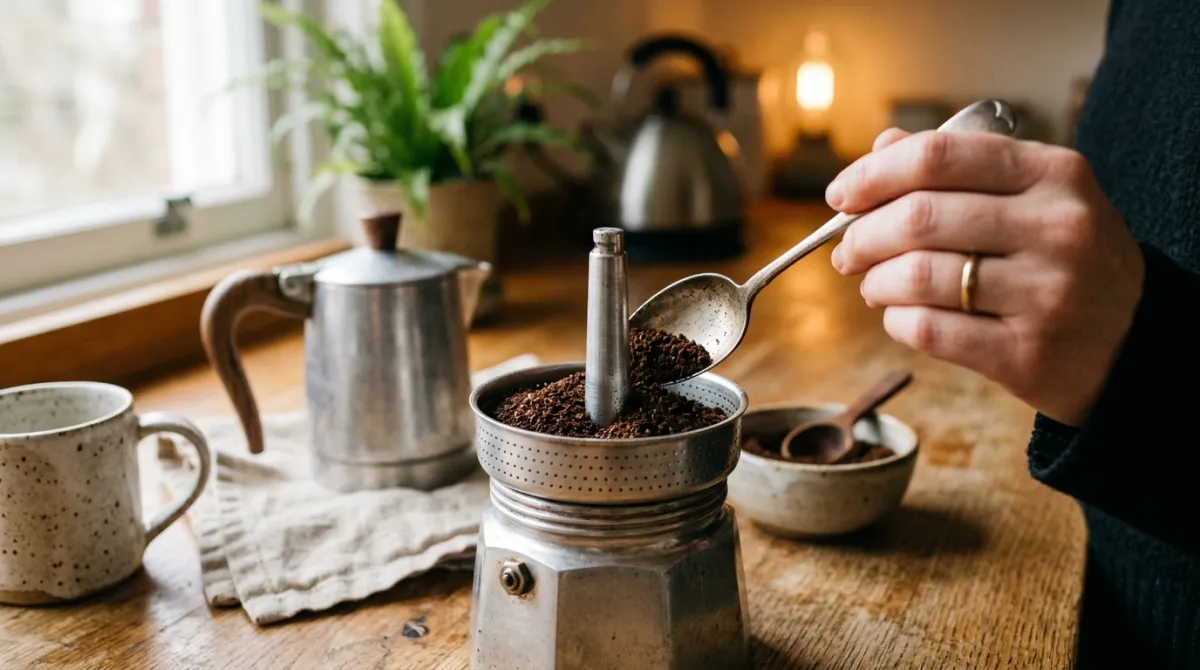
Fill the base with water
Pour cold, fresh water into the bottom chamber up to the fill line, or measure by the cup. Use good-tasting water, since coffee is mostly water and any off flavors carry straight into your cup.
Insert the stem and basket
Set the central stem into the base so it seats at the bottom. Slide the perforated basket down over the stem until it rests in place. This is the path your water will travel: up the tube, then down through the grounds.
Add coarse grounds
Spoon coarse coffee into the basket, aiming for about 2 to 3 tablespoons (10 to 15 grams) per 8-ounce cup of water. Level it out gently. Do not tamp or pack it. You want water to flow through freely, not fight its way past a dense puck.
Assemble and heat on medium
Place the lid with its glass or clear knob on top, then set the pot over medium heat. Medium is the key word. High heat pushes the water into a violent boil that scorches the grounds and rushes extraction.
Watch the perk in the knob
Within a few minutes, you will see small spurts of coffee-colored water splash up into the clear knob. That is the perk. Listen for the steady “perk, perk” sound too. Adjust your burner so the bursts stay slow and rhythmic, not frantic.
Perk for 7 to 10 minutes, then remove
Keep that gentle perk going for 7 to 10 minutes. Shorter gives you weak, underdeveloped coffee. Longer starts pulling out bitter compounds. When your time is up, take the pot off the heat immediately, lift out the basket and stem if you can, and pour.
An electric percolator compresses all of this into one button. You add water and grounds, close the lid, and switch it on. It heats, perks, times itself, and clicks over to warm when finished. You still choose the grind and ratio, but the machine manages the rhythm you would otherwise watch by hand.
Grind size, ratio, and time for a percolator
Getting three variables right, grind, ratio, and time, is what separates a great percolator cup from a punishing one. Percolators recirculate water constantly, so they over-extract more easily than almost any other brewer. Coarse grounds, a sensible ratio, and a firm time limit keep that tendency in check.
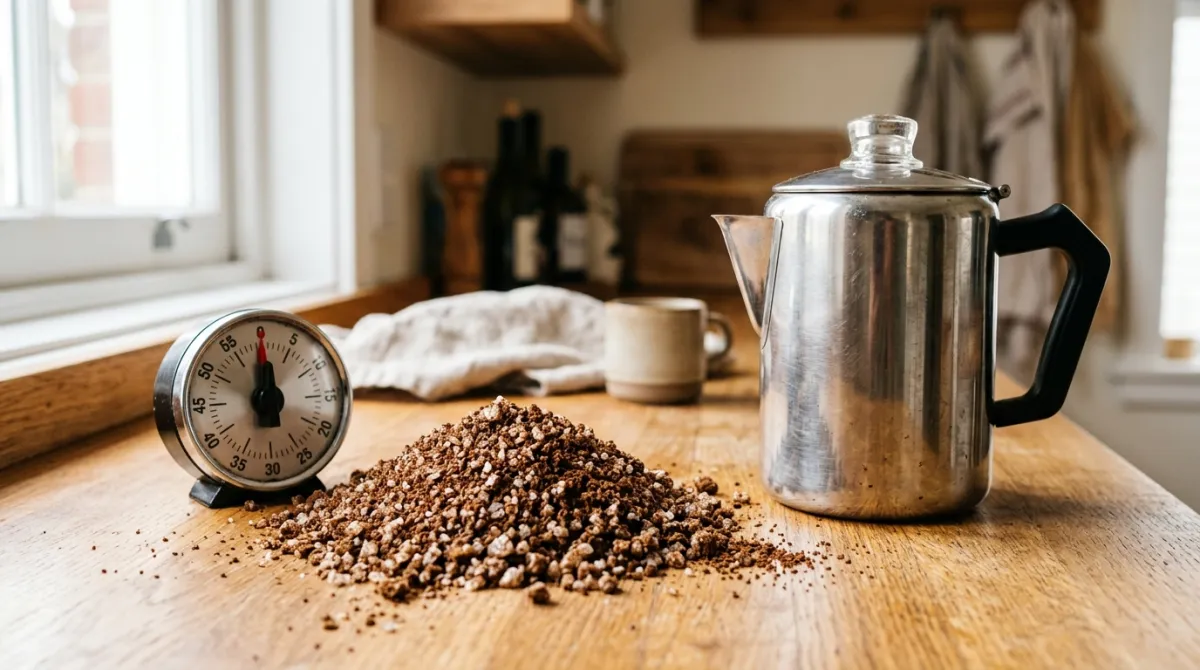
Grind coarse. Aim for a texture like coarse sea salt, similar to what you would use in a French press. Fine grounds expose too much surface area to that recirculating water, which drags bitterness into the cup and can slip through the basket holes into your coffee. When people ask me why their perked coffee tastes harsh, the grind is usually too fine.
Ratio around 2 to 3 tablespoons per cup. About 2 to 3 level tablespoons of coffee, roughly 10 to 15 grams, per 8-ounce cup of water is a solid starting point, landing near the 1:16 golden ratio by weight. Want it stronger? Add a little more coffee rather than perking longer. Brewing time controls bitterness, so use the grounds to control strength. For a deeper breakdown, see my full guide to coffee to water ratio.
Time 7 to 10 minutes. Once the pot is perking steadily, seven minutes gives you a lighter, brighter cup, and ten gives you a bolder, heavier one. Go much past that and you cross into bitter territory fast.
The single biggest mistake is letting a percolator boil hard or perk too long. A rolling boil and an overlong brew both push bitterness into overdrive. If your coffee keeps coming out sharp or acrid, my walkthrough on why is my coffee bitter or sour explains what is happening and how to fix it.
Common percolator mistakes to avoid
Most percolator problems trace back to a handful of repeat offenders. Fix these and your cup improves overnight, no new gear required.
Cranking the heat too high. A hard boil scorches grounds and speeds up over-extraction. Keep it at a gentle, medium perk. You want lazy bursts in the knob, not a geyser.
Grinding too fine. Fine coffee over-extracts and sneaks through the basket, leaving grit and bitterness. Go coarse and consistent. A burr grinder helps here more than anything else.
Perking too long. Walking away and letting it run 15 minutes is a classic error. Set a timer and pull the pot at the 7 to 10 minute mark every single time.
Reheating on the burner. Leaving a stovetop pot on the heat “to stay warm” keeps cooking the coffee and turns it flat and bitter. Remove it, then pour into a thermal carafe if you want to hold the temperature.
Using stale or bad water. Since coffee is almost entirely water, cheap or off-tasting water shows up in the cup. Start with fresh, filtered water when you can.
One habit changed my percolator coffee more than any other: pulling the pot the instant it hits my target time instead of “just one more minute.” That discipline is the difference between memorable and mediocre.
Frequently asked questions
How long do you percolate coffee?
Percolate coffee for about 7 to 10 minutes once the pot reaches a steady perk. Seven minutes produces a lighter, brighter cup, while ten gives a bolder, stronger result. Going longer over-extracts the grounds and turns the coffee bitter, so pull the pot off the heat right at your target time.
What grind is best for a percolator?
A coarse grind, similar to coarse sea salt or French press coffee, works best in a percolator. Because the pot recirculates hot water through the grounds repeatedly, fine coffee over-extracts quickly and slips through the basket holes. Coarse grounds slow extraction, reduce bitterness, and keep grit out of your finished cup.
How much coffee do you put in a percolator?
Use roughly 2 to 3 tablespoons of coffee, about 10 to 15 grams, per 8-ounce cup of water, which is close to the 1:16 golden ratio by weight. If you want a stronger cup, add more coffee rather than perking longer. Brewing time controls bitterness, so adjust strength with the grounds and keep your timing steady.
Why is my percolator coffee bitter?
Bitter percolator coffee usually comes from too much heat, too fine a grind, or too long a brew. All three cause over-extraction, since the pot cycles water through the grounds again and again. Keep a gentle medium perk, grind coarse, and stop at 7 to 10 minutes to fix a bitter cup.
Percolators reward a light touch. Keep the heat gentle, the grind coarse, the ratio near two to three tablespoons per cup, and the timer honest at 7 to 10 minutes. Do that and this old-fashioned brewer delivers a rich, satisfying cup every morning. Ready to branch out? Explore more brewing guides and find your next favorite method.
Keep brewing
Dial in your next cup with Brew Better Co.
Tested ratios, methods, and gear notes from a real home kitchen. New guides added regularly.
Explore all guides