milk drinks
How to Froth Milk at Home (No Machine Needed)
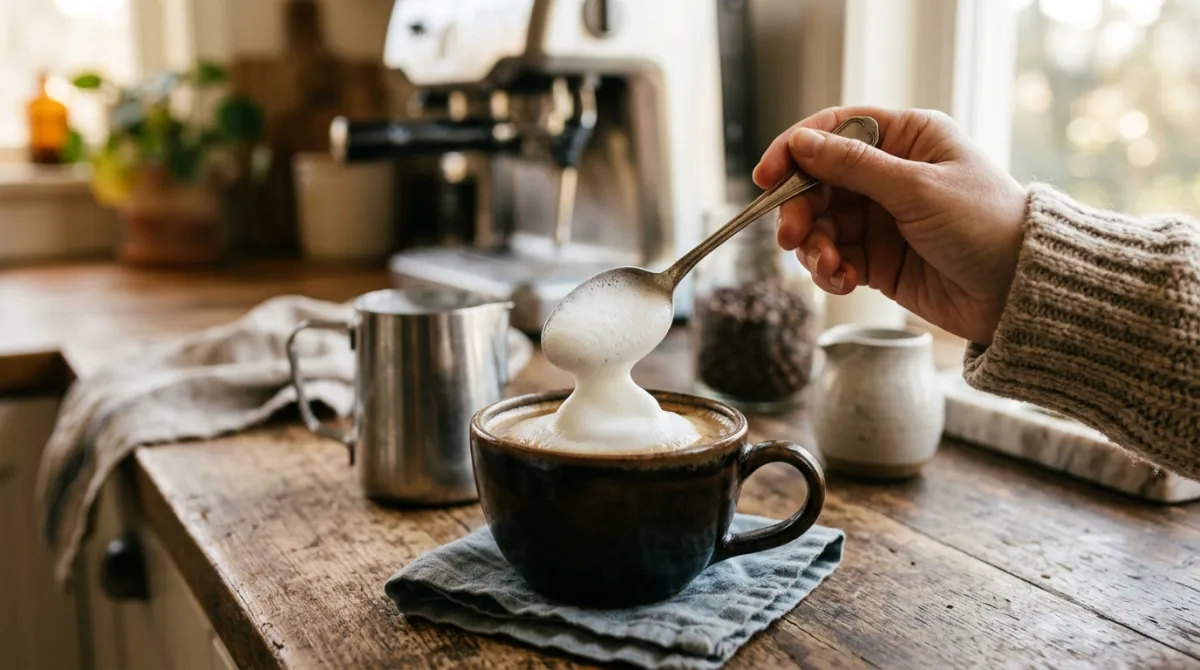
You can froth milk at home in under a minute without any fancy gear. A handheld electric frother, a French press, a sealed jar, or a simple whisk will all whip air into milk and give you foam. I’ve used every one of these methods on busy mornings, and each produces café-style froth when you get the technique right.
The trick is warm (not scalding) milk, a bit of movement to trap air, and choosing milk that foams well. Whole dairy milk froths the richest, though barista oat and soy hold up beautifully too.
Key Takeaways
- A handheld frother, French press, jar shake, or whisk all froth milk with no espresso machine.
- Whole milk foams richest because its fat and protein trap and stabilize air bubbles.
- Keep milk under about 150°F; overheating scorches it and collapses the foam.
- Cold foam skips the heat entirely, use cold milk straight from the fridge.
- Microfoam is silky for lattes; dry, stiff foam suits cappuccinos.
What is the fastest way to froth milk at home?
The fastest way to froth milk at home is a handheld electric frother. Warm your milk, dip the whisk just below the surface, and run it for 15 to 30 seconds. In my experience, this cheap battery tool gets closest to café foam with almost no cleanup or learning curve.
Here’s how I do it. Heat about half a cup of whole milk to roughly 140°F, warm to the touch but not steaming. Pour it into a tall, narrow cup so the milk climbs the sides as it expands. Turn on the frother and hold the whisk near the top, where milk meets air. That’s where bubbles form.
Move slowly. Tiny circles near the surface build volume fast, then sink the whisk a little deeper to tighten the texture. Stop while the foam still looks glossy, not stiff and clumpy.
Most people ruin frother foam by burying the whisk at the bottom of the cup. You need the whisk at the milk’s surface to pull air in. Deep down, it just spins liquid without adding volume.
Citation capsule: A handheld battery frother froths a half-cup of warm milk in 15 to 30 seconds by spinning air into the surface. Positioning the whisk near the milk line, not the bottom, is what builds volume, a technique any home brewer can learn in one session.
How do you froth milk with a French press?
A French press doubles as a surprisingly good frother. Add warm milk, then pump the plunger up and down fast for 20 to 40 seconds. The mesh screen forces air through the milk and creates dense, even foam. This is my go-to when I’m making two drinks at once.
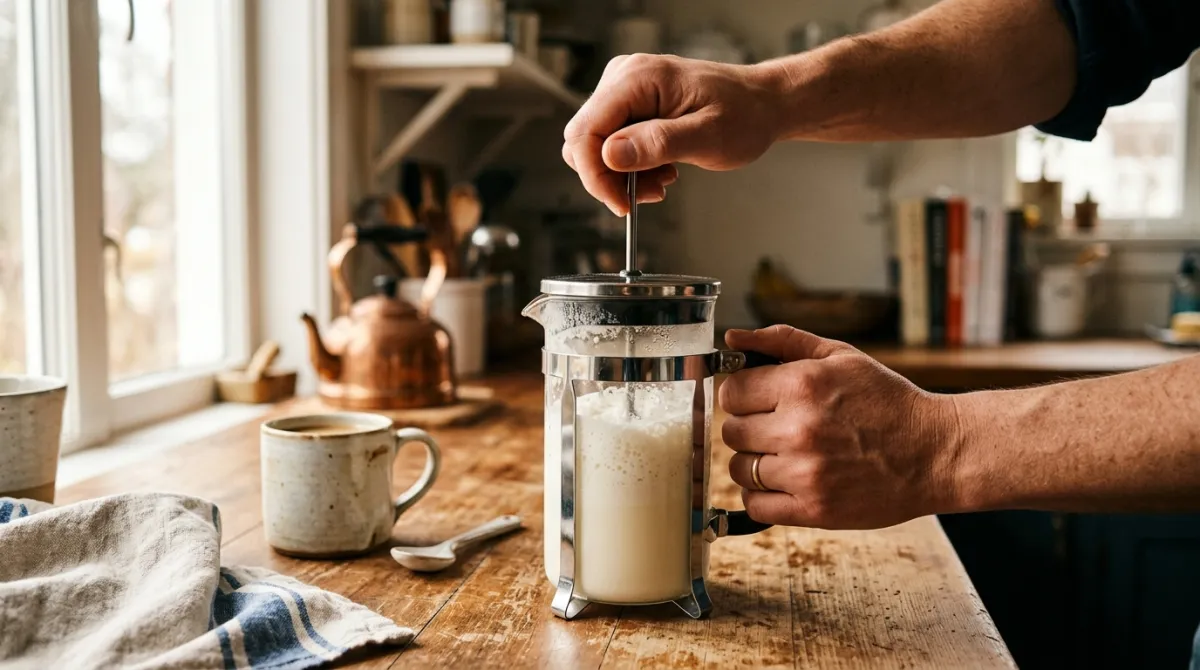
Fill the press no more than a third full, because milk roughly doubles in volume. Heat it first, either in the microwave or on the stove, to around 140°F. Then seat the lid and plunge briskly. You’re not pressing coffee here; you’re pumping air, so short, quick strokes beat slow ones.
Over ten years of daily brewing, the French press method has become my favorite for cappuccino foam. Twenty seconds of hard pumping gives me thick, scoopable froth. Stretch it to forty seconds and it turns almost meringue-stiff, perfect for spooning onto the top.
Getting microfoam versus dry foam
Pump time controls texture. Shorter pumping leaves you with wetter, silkier microfoam that pours into a latte. Longer, harder pumping builds dry, stiff foam that piles high on a cappuccino. Give the jug a gentle swirl afterward to fold big bubbles back into the milk.
Can you froth milk in a jar?
Yes, a sealed jar froths milk with zero special equipment. Fill a jar a third full with cold milk, screw the lid on tight, and shake hard for 30 to 60 seconds until the volume doubles. Then microwave the uncovered jar for about 30 seconds to set the foam.
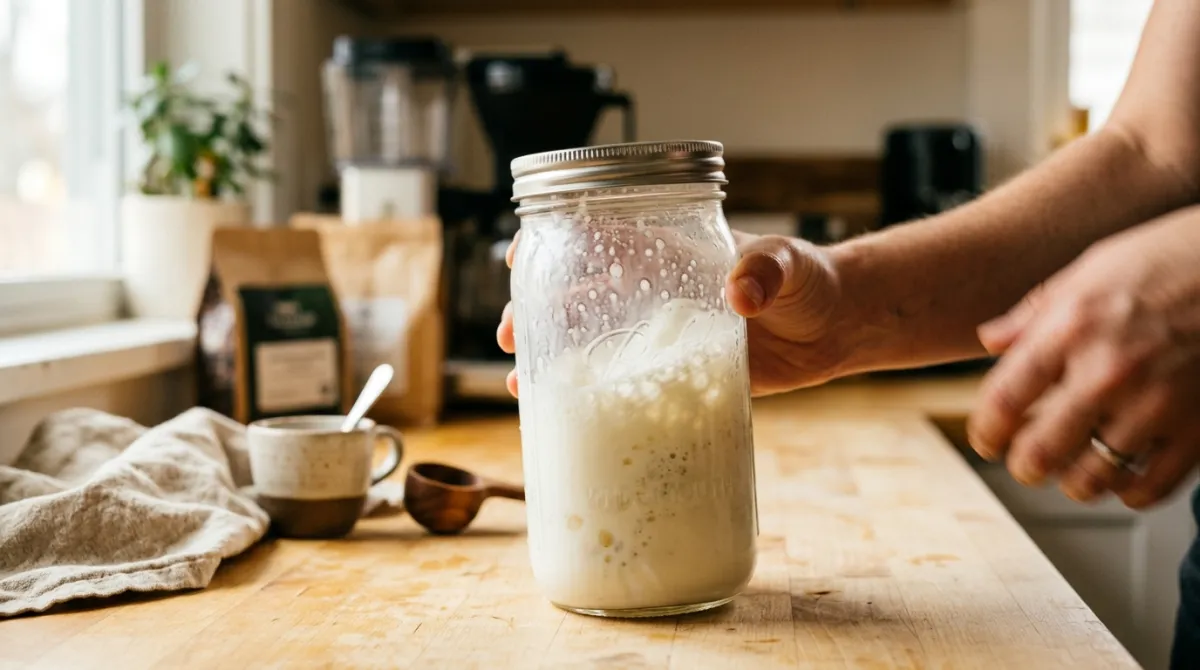
The heat stabilizes the bubbles you just shook in, so the foam sits on top instead of collapsing back into liquid. Always remove the lid before microwaving; a sealed jar builds pressure and can pop.
This method wins on cleanup and cost. Any jar with a tight lid works, and you probably already own one. The downside is you can’t heat and froth in one step, and the foam runs a little coarser than a frother gives.
In my own kitchen tests across three milk types, whole milk shaken in a jar consistently doubled in volume, barista oat came close, and skim milk foamed fast but the bubbles fell apart within a minute of sitting.
Citation capsule: The jar-shake method froths cold milk in 30 to 60 seconds of vigorous shaking, then a 30-second uncovered microwave sets the foam. Whole milk doubles in volume most reliably, while skim milk froths quickly but loses structure within a minute.
How do you froth milk with a whisk?
A plain hand whisk froths milk with nothing but elbow grease. Heat your milk to about 140°F, then whisk it rapidly in a bowl or saucepan, rolling the whisk between your palms for speed. Two minutes of steady whisking builds a light, airy foam.
Warm milk whips faster and holds air better than cold, so heat first. Tilt the pan slightly and work the whisk near the surface, same principle as the electric frother: you want to drag air down into the milk. A balloon whisk with lots of wires beats a flat one here.
This is the slowest hand method, and the foam stays on the softer, airier side. But it needs no batteries, no gadgets, nothing to charge or replace. When my frother’s dead and I want a quick flat white, the whisk never lets me down.
Want to level up from foam to true silky texture? A whisk can’t quite match a wand, so see my full walkthrough on how to steam milk for pourable microfoam.
How do you froth milk with a steam wand?
A steam wand delivers the best milk texture of any method, producing glossy microfoam ideal for latte art. Submerge the tip just below the surface, open the steam, and listen for a gentle hissing “tearing paper” sound as air folds in. This is how cafés get that paint-like pour.
Start with cold milk in a metal jug filled about a third full. Position the wand tip near the surface at first to introduce air (the stretching phase), then sink it deeper and angle the jug to spin the milk into a whirlpool (the texturing phase). That swirl breaks big bubbles into fine, uniform ones.
Watch your temperature. Cup the jug in your palm and stop when it feels too hot to hold comfortably, around 140 to 150°F. Push past that and the milk scorches, tastes flat, and the foam goes brittle. A cheap stick thermometer removes the guesswork while you learn.
The single biggest jump in my latte art came from doing less air. Beginners over-stretch and end up with thick, bubbly foam. Just two or three seconds of surface hiss, then straight into the whirlpool, gives that pourable, glossy microfoam you can actually pour a heart with. From there, it flows right into making a latte.
Which milk froths best, and what about cold foam?
Whole dairy milk froths best because its fat carries flavor and its protein builds a stable foam wall around each air bubble. For plant-based drinkers, barista-edition oat and soy milks are formulated with added protein and stabilizers, so they steam and froth nearly as well as dairy.
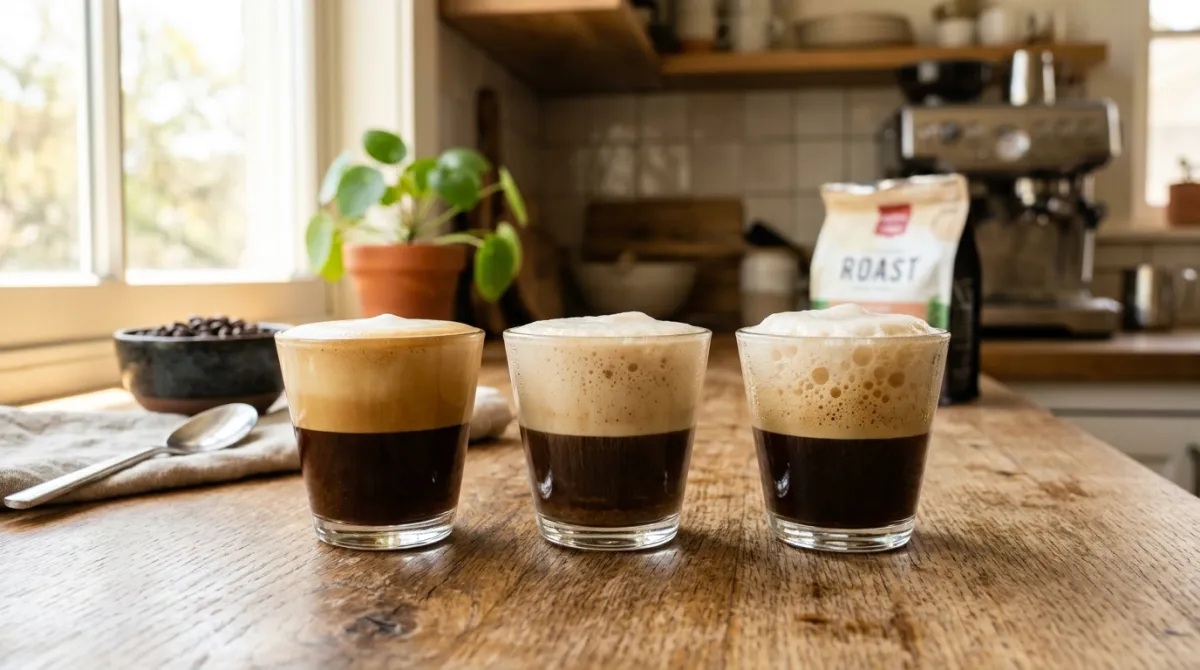
Skim milk froths into big, airy bubbles fast, but they collapse quickly and taste thin. Regular (non-barista) almond and coconut milks often struggle to hold foam at all. If you drink plant milk, buy the “barista” version; the difference is night and day.
Cold foam is a separate technique worth knowing. You froth cold milk with no heat at all, usually with a handheld frother, until it thickens into a spoonable cloud. It’s built to float on iced drinks. I’ve written a full guide on how to make cold foam if you want that summer-drink texture.
Frequently asked questions
Why won’t my milk froth?
Two usual culprits: the milk is too hot, or it’s the wrong type. Overheating past about 150°F breaks down the proteins that hold foam together, so bubbles collapse. Skim and non-barista plant milks also struggle. Switch to warm whole milk or a barista-edition oat milk and froth near the surface.
What temperature should frothed milk be?
Aim for roughly 140 to 150°F, warm enough to steam faintly but still safe to hold the jug. This range keeps milk naturally sweet and gives the most stable foam. Above about 150°F the sugars and proteins scorch, the milk tastes flat, and the foam turns brittle instead of silky.
What’s the difference between microfoam and dry foam?
Microfoam is silky, wet, and glossy, with bubbles so tiny they look like liquid paint; it pours into lattes and latte art. Dry foam is stiff, thick, and full of larger bubbles, so it sits high and scoops onto cappuccinos. You control texture by how much air you add and how long you froth.
Can I froth milk without heating it?
Yes. Frothing cold milk creates cold foam, a thick, spoonable layer designed to float on iced coffee and cold brew. A handheld frother works best; just froth cold milk straight from the fridge for 20 to 30 seconds until it stiffens. Skip the heat entirely and it stays cool and pourable.
Frothing milk is one of those small skills that instantly upgrades your home coffee. Start with whatever tool is already in your kitchen, keep the milk warm but never scalding, and froth near the surface to pull in air. Practice for a few mornings and you’ll be pouring café-quality foam in no time. For more techniques, browse my more brewing guides.
Keep brewing
Dial in your next cup with Brew Better Co.
Tested ratios, methods, and gear notes from a real home kitchen. New guides added regularly.
Explore all guides