milk drinks
How to Make a Caramel Macchiato at Home
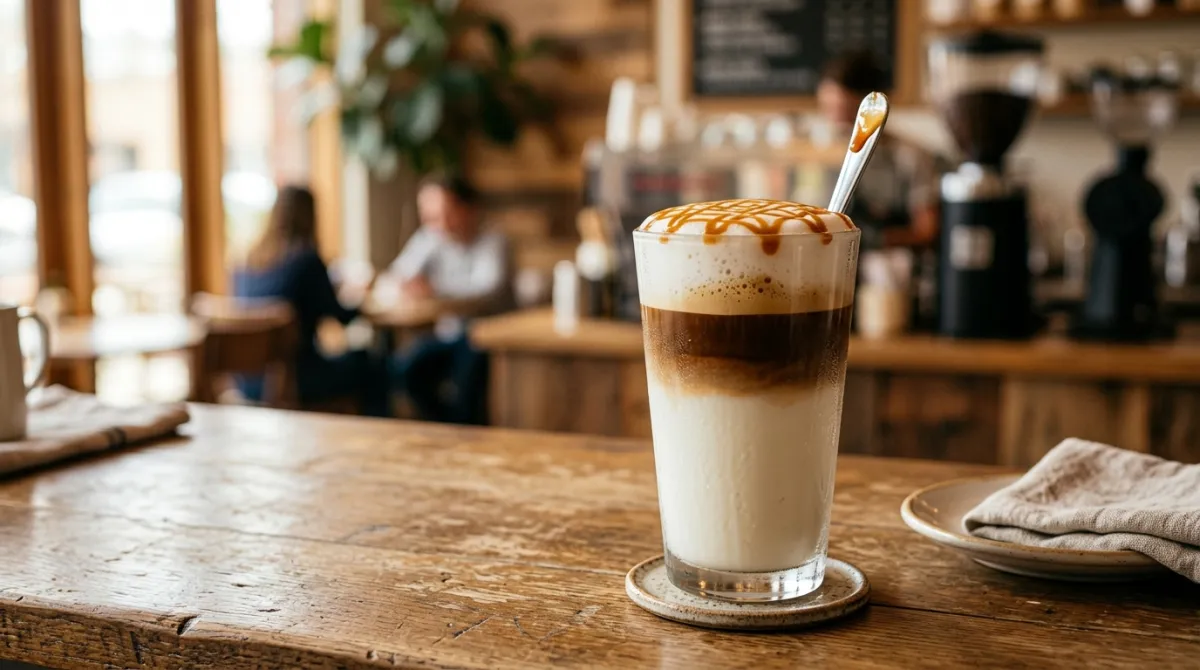
Here’s how, in brief: pour vanilla syrup into a cup, add steamed milk, then slowly pour a shot of espresso on top so it marks the milk, and finish with a caramel drizzle. That layered build is the whole trick. The espresso goes in last, staining the white milk from above rather than mixing in. After a decade of pulling shots every morning, I still think this drink surprises people who assume “macchiato” means a tiny espresso. It doesn’t, at least not this one. Get the order right and you get that signature look and a sweet, mellow cup that tastes like the coffee shop version.
Key Takeaways
- A caramel macchiato is built in layers: vanilla syrup, steamed milk, then espresso poured on top.
- The espresso goes in LAST, marking or staining the milk, which is where the name comes from.
- It’s essentially a vanilla latte finished with a caramel drizzle, not a traditional espresso macchiato.
- A standard build uses a double shot (about 36 mL from 18 g of coffee) and one to two pumps of vanilla.
- The iced version reverses nothing: vanilla, milk, ice, espresso, caramel, same order.
What Is a Caramel Macchiato, Really?
A caramel macchiato is a milk-forward espresso drink built in layers, not the small espresso-with-a-dot that Italian tradition calls a macchiato. The coffee-shop version most people know is closer to a sweet latte. It combines vanilla syrup, steamed milk, espresso, and caramel, assembled in a specific order so the espresso “marks” the milk.
The word macchiato means “stained” or “marked” in Italian. In a traditional espresso macchiato, that means a shot of espresso stained with a small dab of foam. Here, the logic flips. You have a cup full of milk, and the espresso is what stains it. That’s why the shot goes on top instead of at the bottom.
So why the confusion? Two very different drinks share one name. If you order a macchiato at a classic Italian bar, you’ll get a tiny, strong cup. Order one at a big coffee chain, and you’ll get a tall, sweet, milky glass. Both are technically “marked,” just in opposite directions. Knowing the difference helps you build the right one at home.
What Ingredients and Equipment Do You Need?
You need five things: espresso, milk, vanilla syrup, caramel sauce, and a way to steam or froth your milk. A double shot pulls from roughly 18 grams of coffee and yields about 36 mL. That double shot is the standard base for a single drink, giving you enough coffee flavor to stand up to the milk.
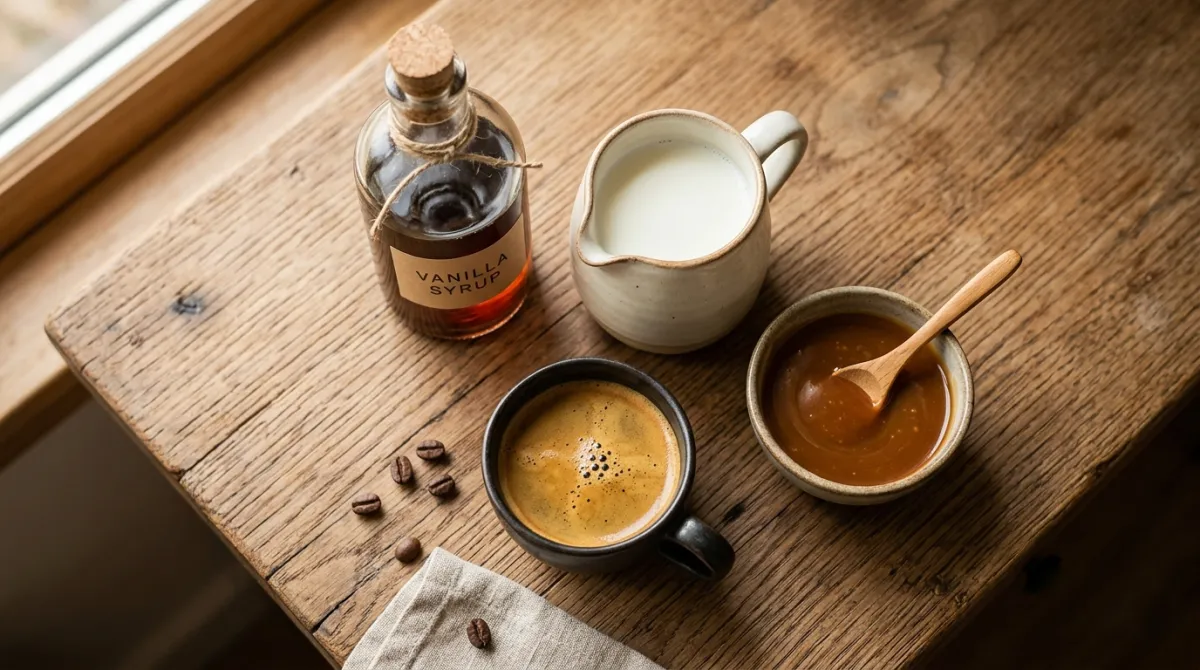
The core ingredients
Start with fresh espresso. If you don’t have a machine, a strong Moka pot or Aeropress shot works as a stand-in, though the crema won’t be identical. For the milk, whole milk steams into the silkiest microfoam, but oat milk froths beautifully too and has become my go-to on many mornings.
You’ll also want vanilla syrup and caramel sauce. These are different products. Vanilla syrup is thin and mixes into the milk; caramel sauce is thick and sits on top as a drizzle. Don’t swap one for the other. Using caramel syrup in place of the vanilla changes the whole balance, and it won’t give you that glossy caramel finish on top.
The equipment
A steam wand gives the best texture, but it isn’t mandatory. A handheld frother, a French press pumped by hand, or even a sealed jar shaken hard will aerate milk well enough. If you want to nail the milk step, my walkthrough on how to steam milk covers the technique in detail. Good microfoam is what lets the espresso sit cleanly on top.
How Do You Make a Hot Caramel Macchiato Step by Step?
A hot caramel macchiato takes about five minutes once your gear is ready. The order matters more than anything else. Vanilla goes first, milk second, espresso third, caramel last. Get that sequence right and the layered look almost builds itself, even if your latte art skills are nonexistent like mine were for years.

Step by step
- Add vanilla syrup. Pump one to two shots of vanilla syrup into the bottom of a tall cup or glass. Two pumps gives the classic coffee-shop sweetness; one keeps it lighter.
- Steam and pour the milk. Steam your milk to around 60-65 C, aiming for a smooth, slightly foamy texture. Pour it over the vanilla, filling most of the cup but leaving room. Hold back a little foam on top.
- Pull the espresso. Brew a double shot, about 36 mL. Timing matters here, so have the milk ready before the shot finishes.
- Mark the milk. Slowly pour the espresso over the back of a spoon into the center of the milk. It should sink through and stain the white foam, creating that marked look.
- Drizzle the caramel. Finish with a caramel sauce drizzle across the top, often in a crosshatch or spiral. Serve right away.
That’s the whole thing. In my experience, the most common mistake is stirring it all together out of habit. Resist that. The point is the contrast between the sweet milk below and the espresso mark above.
How Do You Make an Iced Caramel Macchiato?
The iced version uses the same ingredients and the same order, just over ice. Add vanilla, then milk, then ice, then the espresso on top, and finish with caramel. Because the espresso is poured last over cold milk and ice, you get a dramatic layered look with the dark shot streaking down through the pale milk.
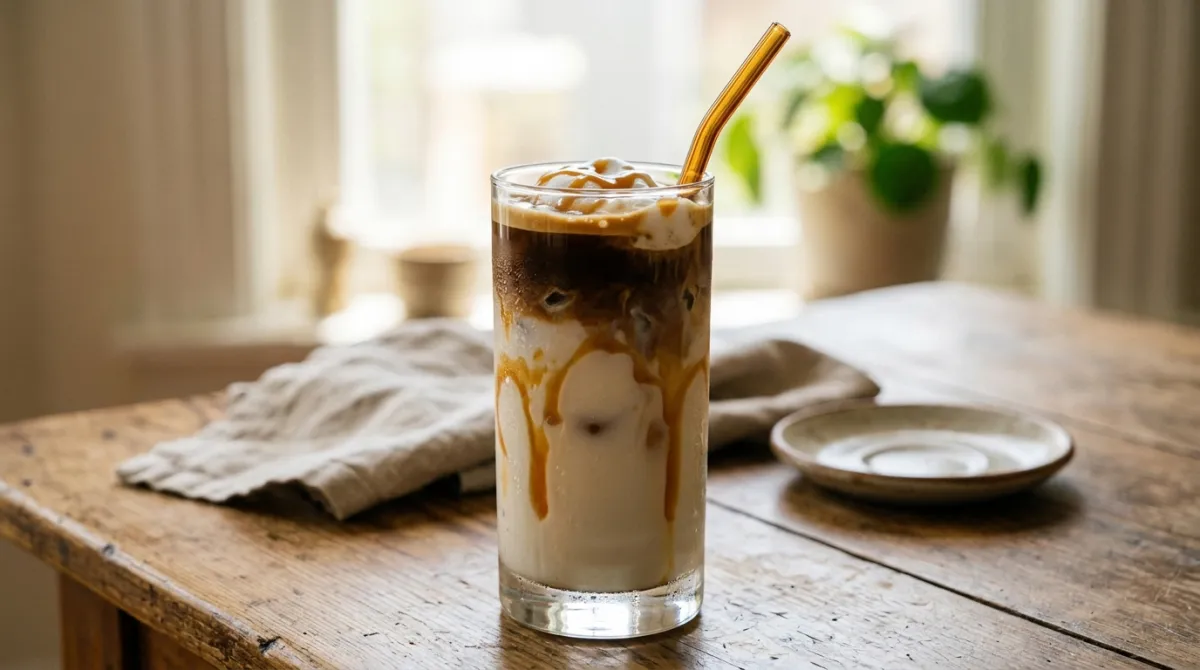
Iced step by step
- Vanilla first. Add one to two pumps of vanilla syrup to a tall glass.
- Cold milk. Pour in cold milk, filling the glass about two-thirds.
- Ice. Add ice cubes to the top.
- Espresso on top. Pour a fresh double shot over the ice so it layers over the milk. Chilling the shot slightly first helps if you want cleaner separation.
- Caramel drizzle. Finish with caramel sauce.
One thing I’ve learned: for iced drinks, pour the espresso gently and let the ice slow it down. Poured too fast, it just blends straight in. Poured slowly, it feathers through the milk and holds that two-tone look until you stir it. And you will stir it before drinking, which is fine. The layers are for the first look, then everything comes together in the sip.
How Is a Caramel Macchiato Different From a Latte?
The difference is mostly the build order and the finishing touches. A latte mixes espresso and steamed milk together, poured espresso-first. A caramel macchiato layers vanilla and milk, then marks it with espresso on top and adds caramel. So a caramel macchiato is basically a vanilla latte assembled backward and dressed up.
Flavor-wise they’re close cousins. Both are sweet and milky. But the caramel macchiato reads slightly stronger on the first sips because the espresso sits on top and hits your palate first. A standard latte tastes more uniformly blended from the start. The caramel also adds a distinct buttery, toasted sweetness that a plain latte lacks.
Then there’s the traditional macchiato, which is a different animal entirely. That’s a single or double espresso “marked” with just a dab of foam, small and intense. If you’re curious about the classic definition and its variations, my guide on what is a macchiato breaks it down. The coffee-shop caramel macchiato borrowed the name, not the recipe.
How Can You Adjust It to Taste?
Small tweaks make a big difference. If your drink tastes too sweet, drop to a single pump of vanilla and go light on the caramel. Want it stronger? Add a third shot of espresso or use less milk. The base ratio is flexible, so treat one to two pumps of vanilla and a double shot as a starting point, not a rule.
Milk choice changes things too. Whole milk gives body and a rounder mouthfeel. Oat milk brings its own gentle sweetness, which means you can often cut back on syrup. Skim froths into a lighter, airier foam but loses some richness. I’ve found oat milk pairs especially well with caramel, since both lean toasty and warm.
Temperature is worth watching on the hot version. Scalded milk at boiling point tastes flat and can turn bitter. Aim for hot but not steaming, around 60-65 C, so the sweetness of the vanilla and milk stays bright. If you don’t own a thermometer, stop steaming when the pitcher gets too hot to hold comfortably for more than a second or two.
Frequently asked questions
Is a caramel macchiato just a latte with caramel?
Nearly, but not exactly. It’s built like a vanilla latte assembled in reverse: vanilla and milk first, espresso marked on top, caramel drizzled last. A regular latte mixes espresso and milk together. The layered build and the caramel finish are what set the macchiato version apart in look and first taste.
Should I stir a caramel macchiato before drinking?
The drink is designed to be layered, so the marked espresso and caramel sit on top for visual effect. Most people take the first sip through those layers, then stir to blend everything evenly. There’s no wrong answer. Stir it right away if you prefer a uniform, latte-like flavor throughout the cup.
Can I make a caramel macchiato without an espresso machine?
Yes. A Moka pot or Aeropress produces a strong, concentrated shot that works as a substitute, though the crema differs from true espresso. Froth your milk with a handheld frother, French press, or a sealed jar shaken hard. Then build in the same order: vanilla, milk, coffee on top, caramel drizzle.
What’s the difference between vanilla syrup and caramel sauce here?
They do different jobs. Vanilla syrup is thin and dissolves into the milk, providing the base sweetness. Caramel sauce is thick and sits on top as a decorative, flavorful drizzle. Don’t substitute one for the other. Swapping in caramel syrup for the vanilla changes the balance and skips the glossy caramel finish on top.
Making a caramel macchiato at home comes down to respecting the order: vanilla, milk, espresso on top, then caramel. Nail that sequence and you’ll get the layered look and the sweet, mellow flavor without a coffee-shop price tag. Once you’re comfortable, play with your syrup levels, milk choice, and shot strength until it’s exactly yours. For more step-by-step walkthroughs and technique tips, browse our more brewing guides.
Keep brewing
Dial in your next cup with Brew Better Co.
Tested ratios, methods, and gear notes from a real home kitchen. New guides added regularly.
Explore all guides