methods
How to Make Cold Brew Coffee at Home (Step by Step)
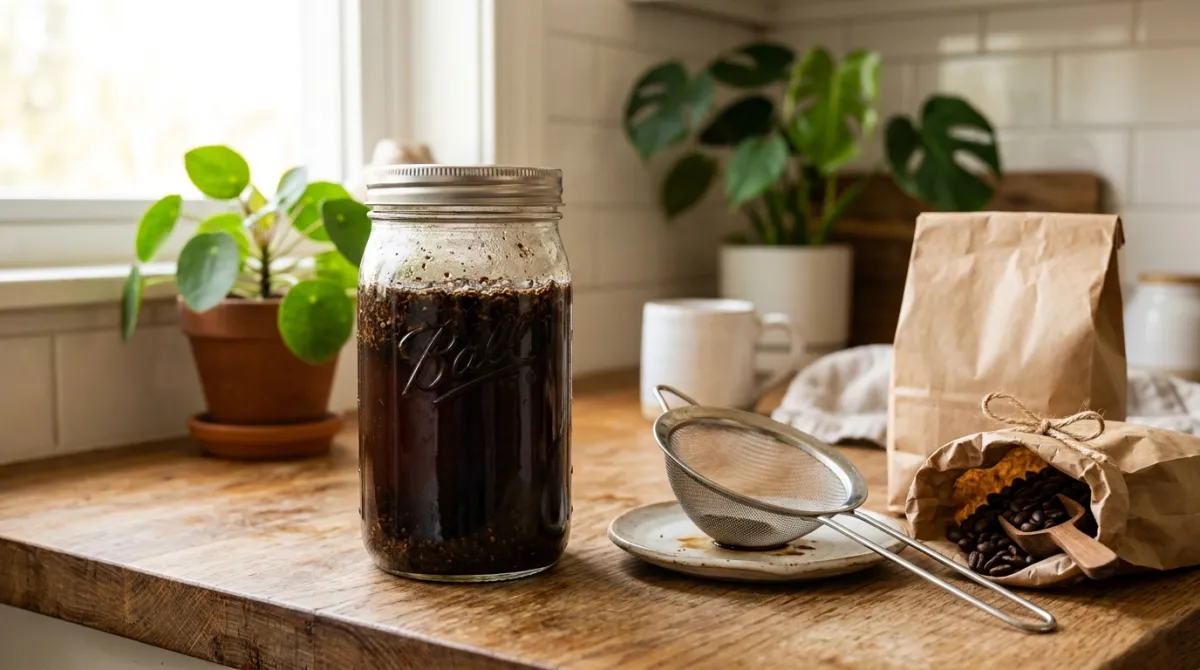
Learning how to make cold brew coffee at home comes down to one simple idea: patience does the work that heat usually does. You combine coarse coffee grounds with cold water, let them steep for 12 to 18 hours, then strain out the grounds. What you get is smooth, low-acid coffee concentrate you can dilute and drink over ice.
I have brewed coffee at home every single day for more than a decade, and cold brew is the method I recommend most to beginners. It is forgiving, it needs no special machine, and it tastes better than most bottled versions. This guide walks you through the exact steps, ratios, and small details that make the difference.
Key Takeaways
- Cold brew uses time, not heat: steep coarse grounds in cold water for 12 to 18 hours.
- Use roughly a 1:8 coffee-to-water ratio by weight for concentrate, then dilute about 1:1 to drink.
- Coarse grind matters; it should look like sea salt to avoid a muddy, over-extracted cup.
- Store finished cold brew in the fridge and drink it within about a week for the best flavor.
- Strain in two stages, a mesh filter then a paper filter, for the cleanest, least gritty cup.
How do you make cold brew coffee?
You make cold brew by steeping coarse coffee grounds in cold or room-temperature water for 12 to 18 hours, then straining. The long, slow soak pulls out flavor without heat, which is why cold brew tastes smoother and less bitter than iced coffee brewed hot and chilled.
Here is the short version. Combine one part coffee with eight parts water by weight. Stir, cover, and leave it on the counter or in the fridge. When time is up, strain out the grounds with a fine mesh or paper filter. You now have concentrate. Dilute it roughly one to one with water or milk, pour over ice, and drink.
That is genuinely the whole method. No pressure, no precise temperatures, no timing to the second. Good brewing is really just controlled extraction, and cold brew simply trades heat for hours. If you can measure coffee and water and wait overnight, you can make this.
What you need to make cold brew at home
You do not need equipment to make cold brew at home. Any two containers and a way to strain will do. That accessibility is part of why cold brew has become a mainstream home favorite rather than a coffee-shop-only drink.
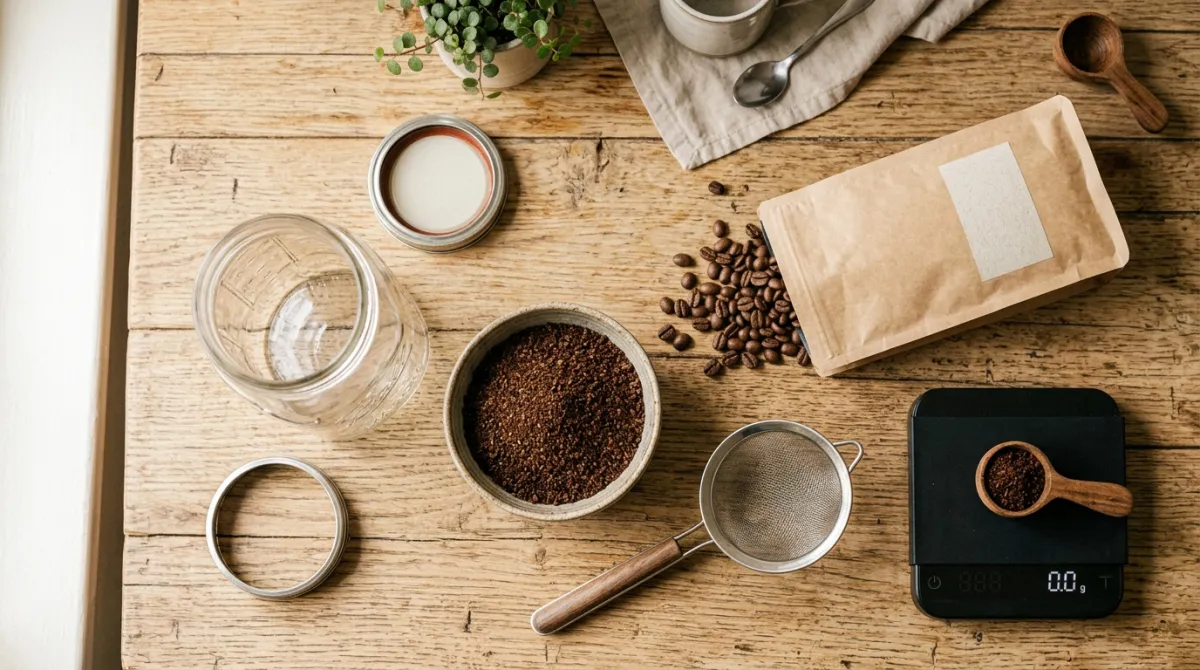
Here is what I keep on hand:
- Coarse coffee grounds. Whole beans ground fresh are ideal, but pre-ground coarse coffee works fine.
- Cold, filtered water. Better water means a cleaner-tasting cup.
- A large jar or pitcher. A 1-quart or 2-quart mason jar is perfect for a first batch.
- A fine mesh strainer, nut milk bag, or paper filter. This removes the grounds after steeping.
- A kitchen scale (recommended). Weighing coffee and water is far more accurate than scooping.
A scale is the one upgrade I push hardest. Measuring by weight keeps your results consistent batch after batch, guidance the National Coffee Association echoes for home brewing (National Coffee Association). If you would rather scoop, one level tablespoon of ground coffee weighs about 5 grams, so you can convert in a pinch.
You can also buy a dedicated cold brew maker with a built-in filter basket. It is convenient, but honestly a mason jar and a strainer do the same job for a fraction of the cost.
Step by step: how to make cold brew coffee
Making cold brew takes about five minutes of hands-on work spread across a day. Cold brew is one of the easiest home methods, and these six steps are all it involves. Follow them once and you will never need the recipe again.
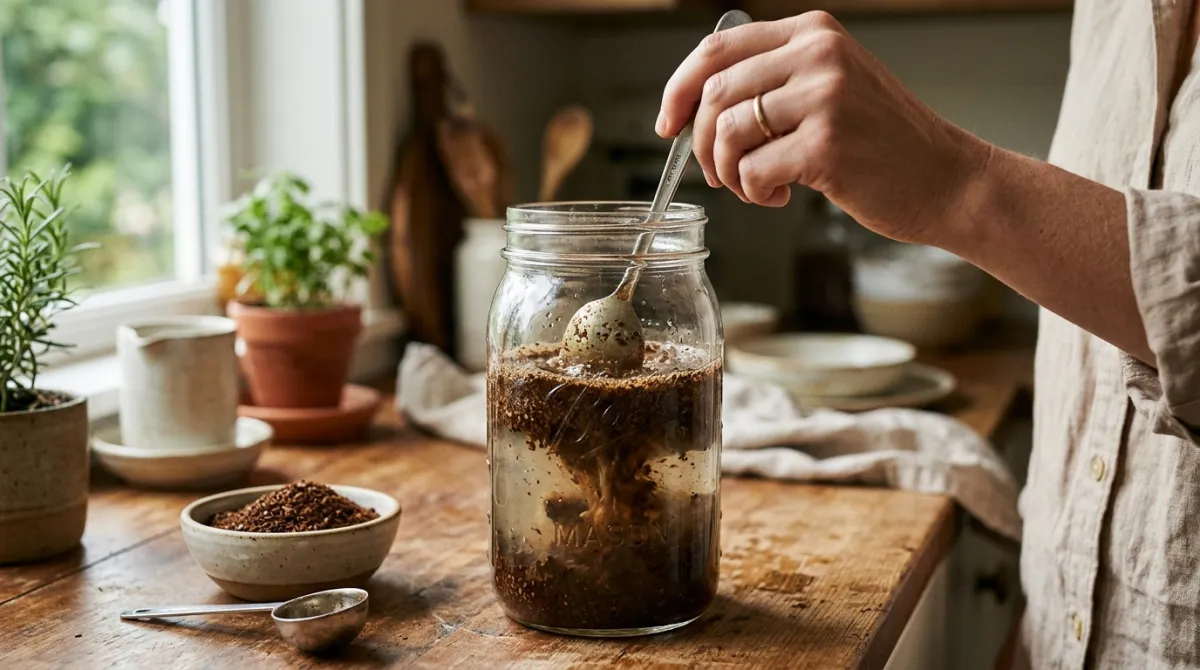
Step 1: Weigh and grind your coffee
Start with about 100 grams of coffee for a standard jar. Grind it coarse, or ask for a coarse grind if you are buying pre-ground. The texture should resemble sea salt or raw sugar, not powder. Fresh grounds give you the most flavor, so grind just before you brew if you can.
Step 2: Combine coffee and water
Add your grounds to the jar, then pour in about 800 grams (roughly 800 ml) of cold, filtered water. Stir gently until every ground is wet. You will see it bloom and clump at first; keep stirring until it settles into an even slurry.
Step 3: Steep for 12 to 18 hours
Cover the jar and let it steep. Room temperature works and extracts faster, so lean toward 12 hours on the counter. In the fridge, extraction slows, so aim closer to 16 to 18 hours. I usually start a batch after dinner and strain it the next morning.
Step 4: Strain out the grounds
Pour the mixture through your strainer into a clean container. For an extra-clean cup, run it through a paper filter afterward to catch the fine sediment. Do not squeeze the grounds hard; that can push bitter, muddy flavors into your finished brew.
Step 5: Taste and dilute
You have made concentrate, which is strong. Dilute it roughly one to one with fresh water or milk. Taste as you go and adjust. Some mornings I want it bolder, so I add less water. This is where cold brew rewards a little experimenting.
Step 6: Serve over ice
Fill a glass with ice, pour, and drink. Add milk, a splash of cream, or a sweetener if you like. That is your first homemade cold brew, done.
The cold brew ratio and grind size to use
The cold brew ratio that works most reliably is 1:8 coffee to water by weight for concentrate, then diluting about 1:1 before drinking. That effectively gives you a 1:16 ratio in the glass, which lands close to standard brewed-coffee strength. For the full breakdown, see our cold brew coffee ratio guide.
The math is simple. To find your coffee weight, divide water grams by the ratio number. For an 800-gram batch of water at 1:8, that is 800 divided by 8, which is 100 grams of coffee. Scale it up or down and the ratio holds. If you want ready-to-drink cold brew with no diluting, brew at 1:16 from the start, which is 50 grams of coffee to 800 grams of water.
Grind size is the other lever that decides your results. Coarse is essential. Fine grounds have more surface area, so they over-extract during the long steep and turn bitter and silty. Coarse grounds extract slowly and evenly across those 12 to 18 hours, which is exactly what you want. In my experience, grind is the single most common thing beginners get wrong.
If you want to understand how these ratios connect across every brew method, our pillar guide on coffee to water ratio explains the whole framework. Cold brew is just one point on that scale, tuned for a slow, cold extraction.
How to strain, store, and serve cold brew
Straining well and storing cold means the difference between a batch that tastes great all week and one that goes flat by day two. Brewed coffee keeps best cold and covered, and homemade cold brew holds up in the fridge for about a week.
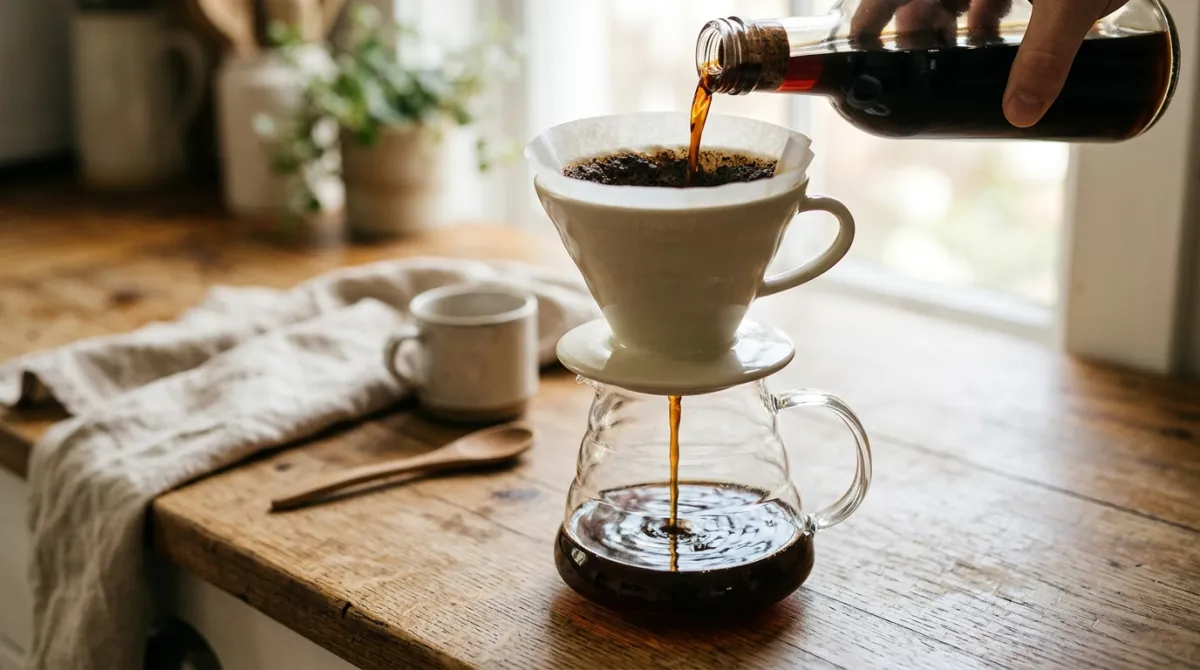
Strain in two stages for the cleanest result. First, pour through a fine mesh strainer or nut milk bag to remove the bulk of the grounds. Second, run the liquid through a paper filter to catch the fine sediment that makes cold brew taste gritty. It takes a few extra minutes and it is worth it every time.
Store your concentrate undiluted in a sealed jar in the fridge. Keeping it concentrated saves space and lets you dilute each glass to taste. Homemade cold brew has no preservatives, so flavor peaks in the first few days and slowly fades after that. I write the brew date on a piece of tape so I always know how old a batch is.
To serve, fill a glass with ice, add concentrate, then top with water or milk to your preferred strength. Cold brew also makes an excellent base for iced coffee and iced lattes, and it plays well with a splash of vanilla or a pinch of salt to round out the flavor.
Common cold brew mistakes to avoid
Most cold brew problems trace back to a handful of fixable mistakes. Grind size and ratio drive extraction, and getting those two wrong causes the majority of bad batches I have helped people troubleshoot over the years.
Grinding too fine. This is the big one. Fine grounds over-extract and turn your brew bitter and muddy. Keep it coarse, like sea salt.
Skipping the scale. Eyeballing coffee and water leads to weak or overpowering batches. Weigh your coffee and water so every batch tastes the same.
Under-steeping or over-steeping. Pull it too early and it is thin and sour. Leave it far too long and it gets harsh. Stay in the 12 to 18 hour window.
Squeezing the grounds. Wringing out the filter bag forces bitter solids into your cup. Let it drain on its own.
Forgetting to dilute. Concentrate straight from the jar is intense. Cut it with water or milk before you decide it is too strong.
Letting it sit too long. Cold brew is not shelf-stable. Drink it within about a week and keep it refrigerated the whole time.
Avoid these six and your cold brew will beat most cafe versions. The method is forgiving, but these small habits are what turn a good batch into a great one.
Frequently asked questions
How long does cold brew take to make?
Cold brew takes 12 to 18 hours of steeping, plus about five minutes of hands-on work. Room-temperature batches extract faster, so 12 hours is often enough on the counter. Refrigerated batches steep slower, so aim for 16 to 18 hours. Most home brewers start a batch overnight and strain it in the morning.
What is the ratio for cold brew?
Use a 1:8 coffee-to-water ratio by weight for concentrate, then dilute roughly 1:1 before drinking. That works out to about 1:16 in the glass, close to standard coffee strength. For an 800-gram water batch, that is 100 grams of coffee. Our cold brew coffee ratio guide covers every variation.
Can you use regular ground coffee for cold brew?
Yes, but the grind size matters more than the brand. Regular ground coffee is usually medium, which can over-extract during the long steep and taste bitter. For the smoothest results, use a coarse grind that looks like sea salt. If your pre-ground coffee is fine, shorten the steep slightly to compensate.
How long does homemade cold brew last?
Homemade cold brew lasts about a week in the fridge when stored sealed and undiluted. It has no preservatives, so flavor peaks in the first few days and slowly fades afterward. Keep it refrigerated the whole time, and label the jar with the brew date so you can track its freshness.
Cold brew is the easiest way to get consistently smooth coffee at home, and now you have every step to make it. Start with one jar, dial in your ratio and grind, and adjust from there until it tastes exactly how you like it. Ready to explore other methods? Browse our more brewing guides for pour over, espresso, and everything in between.
Keep brewing
Dial in your next cup with Brew Better Co.
Tested ratios, methods, and gear notes from a real home kitchen. New guides added regularly.
Explore all guides