methods
How to Use a Chemex: A Simple Step-by-Step Guide
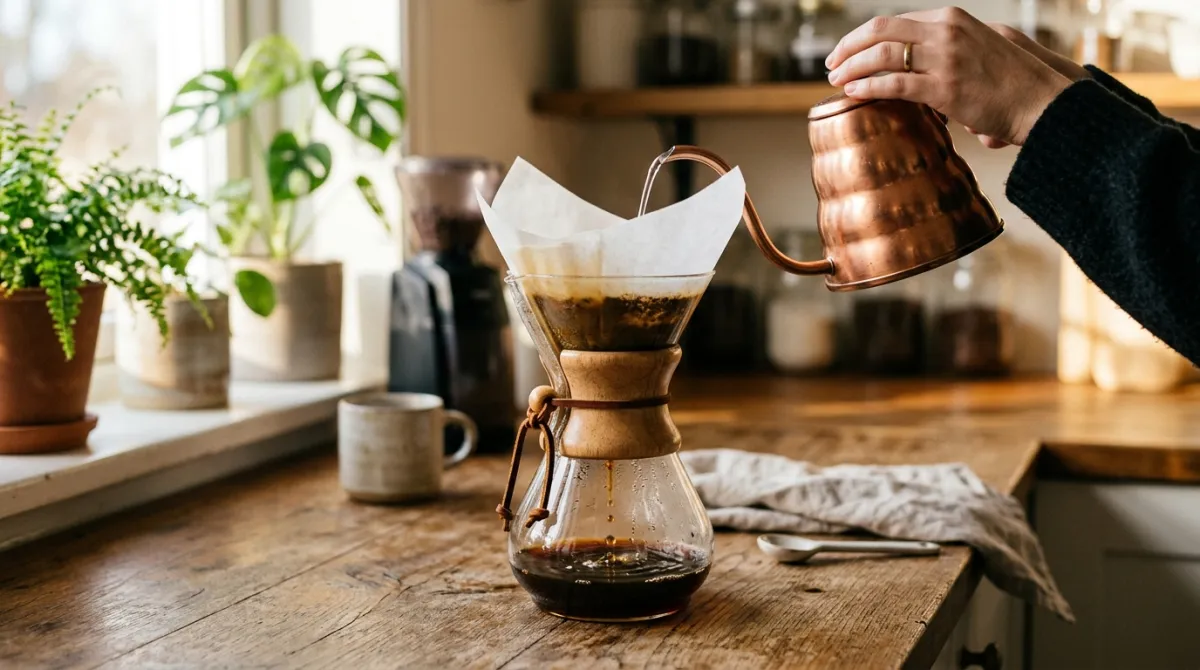
How, in brief: bloom your grounds first, then pour water in slow stages through the Chemex’s thick bonded filter until you hit your target weight. That is the whole method. After more than ten years of daily brewing, the Chemex is still the pot I reach for when I want a bright, tea-clean cup with almost no sediment.
The specifics matter, though, because that famously thick filter changes how you grind and pour. Here is the short version before we go deeper: use 42 grams of coffee to roughly 630 to 700 grams of water, a medium-coarse grind, rinse the paper first, bloom for 30 to 45 seconds, then pour in stages for a total brew time near 4 to 5 minutes.
Key Takeaways
- Rinse the thick filter with hot water first to remove paper taste and preheat the glass.
- Use a 1:15 to 1:17 ratio, roughly 42 g coffee to 630 to 700 g water.
- Grind medium-coarse, slightly coarser than a cone pour-over, because the filter slows flow.
- Bloom with about twice the coffee weight in water for 30 to 45 seconds.
- Aim for a total brew time of 4 to 5 minutes, pouring in slow stages.
What makes the Chemex different from other pour-overs?
The Chemex looks like a fancy pour-over, and it is, but the filter is the real story. Its bonded paper runs noticeably thicker than a standard cone filter, so it traps more oils and fine particles. The result is a cup that tastes clean, bright, and light-bodied, almost like a good tea.
That thickness comes with a trade-off. Thicker paper slows the water’s flow through the coffee bed, which is exactly why grind size and pour pace matter so much here. If you brew a Chemex like a regular V60 with the same grind, you will often stall the bed and pull a bitter, over-extracted cup.
I love the Chemex for exactly this reason. It strips out the heavy oils that a metal or thin paper filter lets through, so subtle floral and fruit notes come forward. If you like body and richness, a French press suits you better, but for clarity, nothing on my shelf beats this one.
What do you need before you start?
Gather a few basics and the process gets easy. You need a Chemex, its matching bonded filters, a gooseneck kettle, a scale, and fresh whole beans. A burr grinder helps enormously because even grounds extract evenly, and the Chemex rewards consistency more than most brewers I have used.
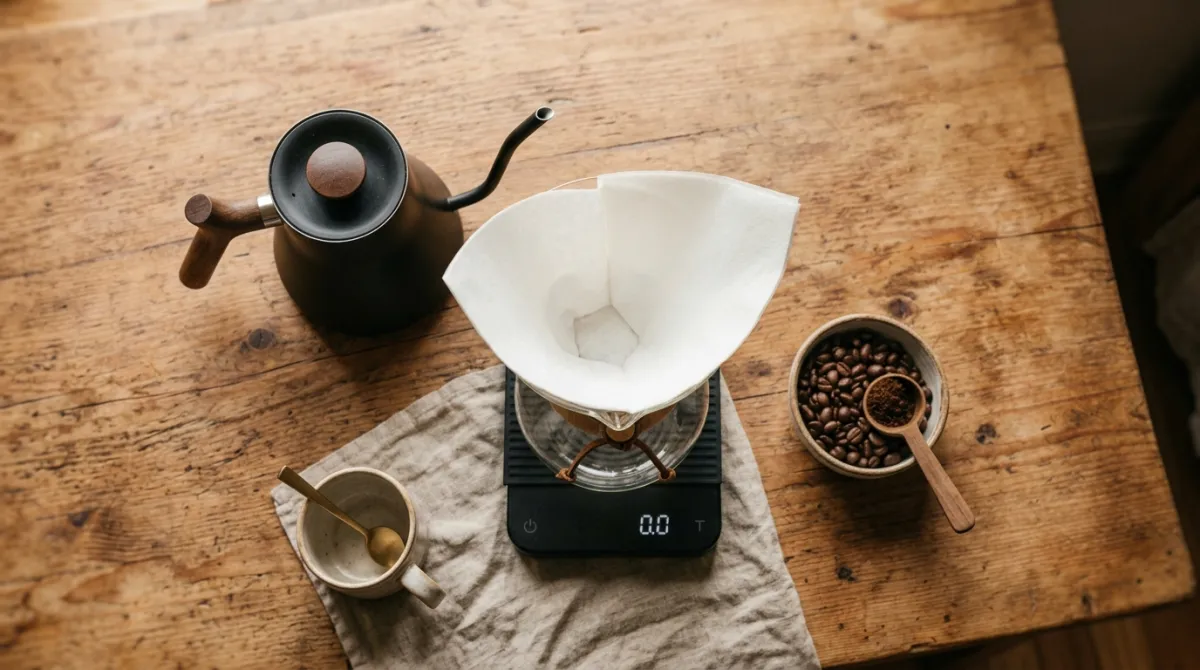
Here is my everyday kit:
- Chemex brewer, the classic 6-cup size is the most versatile.
- Chemex bonded filters, the pre-folded squares or circles.
- Gooseneck kettle, ideally with temperature control near 200°F.
- Digital scale that reads to one gram.
- Burr grinder for a repeatable medium-coarse grind.
- Fresh beans, ideally roasted within the last three or four weeks.
You can brew without a scale by eye, but I would not. Weighing coffee and water is the single biggest upgrade most home brewers can make, and it costs almost nothing. Once you dial in your numbers, you get the same cup every morning.
What is the right Chemex ratio and grind?
Start with a 1:16 ratio and adjust from there. My daily recipe is 42 grams of coffee to 672 grams of water, which lands right in the middle of the 1:15 to 1:17 range that works best for a Chemex. That yields about two large mugs, or roughly three modest cups.
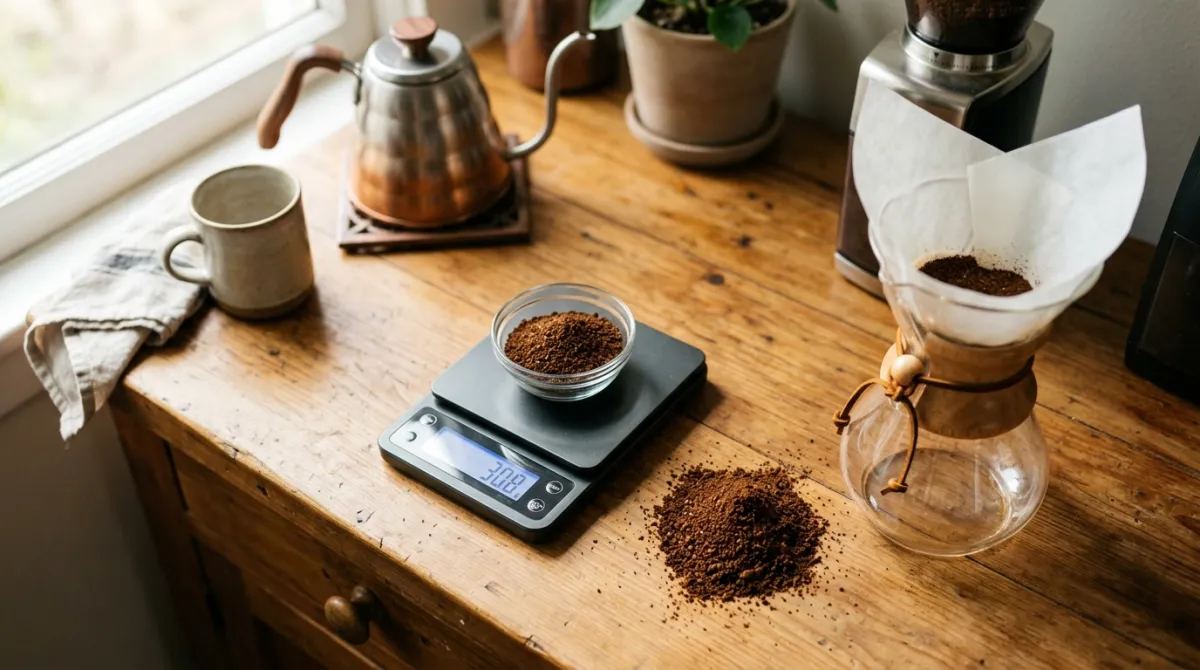
The ratio flexes with your taste. Want a stronger, denser cup? Move toward 1:15, so 42 grams of coffee to about 630 grams of water. Prefer something lighter and more delicate? Push to 1:17, which is 42 grams to roughly 714 grams. I keep a small card taped inside my cabinet with these three numbers so I never have to think at 6 a.m.
How coarse should you grind?
Grind medium-coarse, a touch coarser than you would for a cone pour-over. The thick filter slows drainage, so a slightly larger grind keeps water moving through the bed at a sensible pace. Think coarse sea salt, not table salt. If your brew drips for more than five or six minutes and tastes harsh, your grind is too fine.
Grind size is the lever I adjust first when a cup tastes off. If it comes out weak and sour, go finer; if it turns bitter and dry, go coarser. For a deeper look at dialing this in, see my guide to grind size for pour-over, since the same logic applies with one coarser nudge for the Chemex.
How do you brew a Chemex step by step?
Here is my exact routine, start to finish. The whole thing takes about five minutes once your water is hot, and each step earns its place. Follow the order and you will get a clean, sweet, repeatable cup nearly every time, even before your first sip of caffeine.
Step 1: Fold and place the filter
Open the bonded filter into a cone so one side has three layers and the other has a single layer. Place it in the Chemex with the thick triple-fold side over the pouring spout. This matters: the extra layers on the spout side keep the filter from collapsing and blocking the small air channel, so the brew drains smoothly.
Step 2: Rinse the filter
Pour hot water through the empty filter until it is fully soaked, then discard that rinse water. Rinsing does two jobs at once. It washes away the papery taste that thick filters can leave, and it preheats the glass so your brew does not lose heat the moment it starts. Do not skip this step; you will taste the difference.
Step 3: Add grounds and bloom
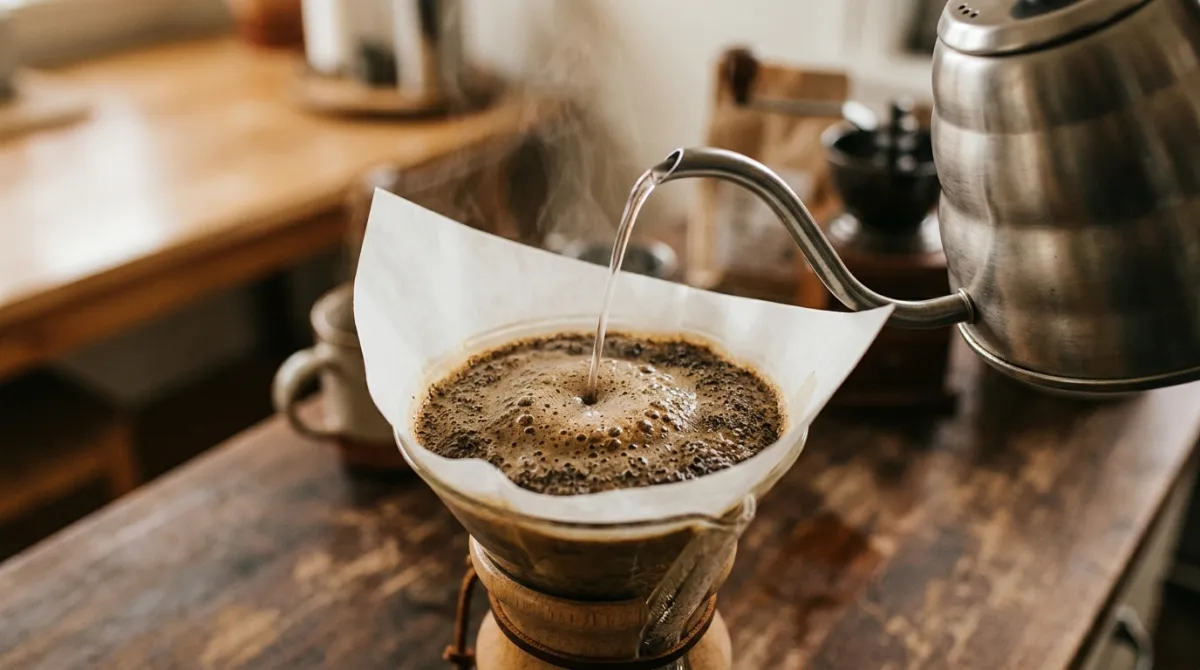
Add your 42 grams of medium-coarse coffee and give the Chemex a gentle shake to level the bed. Start your timer and pour about 84 grams of water, roughly twice the coffee weight, in slow circles until every ground is wet. This is the bloom. Let it sit 30 to 45 seconds while trapped gas escapes and the bed swells.
Step 4: Pour in stages
Once the bloom settles, pour the rest of the water in two or three slow, spiraling stages. Add water, let the level drop most of the way, then pour again, working from the center outward and avoiding the paper. Reach your target weight, around 672 grams, by roughly the three-minute mark. The full drawdown should finish near 4 to 5 minutes total.
Step 5: Serve and clean up
When the dripping slows to a trickle, lift out the filter with the spent grounds and toss the whole thing. Give the Chemex a gentle swirl to mix the brew, then pour. I rinse the glass with hot water right away, since dried coffee oils are far harder to clean later. Warm your mug first if you like heat that lasts.
What are the most common Chemex mistakes?
Most bad Chemex cups trace back to one of four errors. Grinding too fine is the biggest culprit, followed by skipping the filter rinse, pouring too fast, and using stale or under-dosed coffee. Fix those four and your cup improves immediately, no fancy gear required.
Pouring too aggressively is the mistake I see most with newcomers. A hard, fast pour digs channels in the bed and drags fine particles against the filter, which stalls flow and over-extracts. Pour gently, keep the stream thin, and be patient. The Chemex rewards a calm hand more than any brewer I own.
The other quiet killer is dose. If your cup tastes thin no matter what, you are probably under-dosing, not over-extracting. Weigh both coffee and water every time. If you are new to weighing your brews, my primer on the coffee-to-water ratio explains why grams beat scoops for consistency across every method, not just this one.
How can you adjust the cup to your taste?
Change one variable at a time and taste after each. If your Chemex tastes sour, sharp, or weak, it is under-extracted, so grind finer or slow your pour. If it tastes bitter, dry, or hollow, it is over-extracted, so grind coarser or lower your water temperature slightly toward 195°F.
Water temperature is an underrated dial. I brew most beans near 200°F, but I drop a few degrees for dark roasts, which give up their bitterness easily. Light roasts, on the other hand, like heat and a slightly finer grind to open up. The Chemex shows these small changes clearly because its clean cup hides nothing.
Once your core recipe is solid, the fun begins. Try a single-origin Ethiopian for bright florals or a washed Colombian for balanced sweetness. For a broader framework on tuning strength across pour-over gear, my pour-over coffee ratio guide pairs neatly with everything here. Keep notes; your palate sharpens faster than you expect.
Frequently asked questions
How much coffee do I use in a Chemex?
Use a 1:15 to 1:17 ratio by weight. For a standard batch I dose 42 grams of coffee to 672 grams of water, which fills a 6-cup Chemex nicely. If you lack a scale, roughly two level tablespoons of grounds per 6 ounces of water gets you close, though weighing is far more reliable.
Do I really need to rinse the Chemex filter?
Yes, rinsing is worth the extra minute. The Chemex filter is thick, so it can add a papery taste if you brew straight onto dry paper. A quick hot-water rinse washes that away and preheats the glass at the same time, keeping your brewing temperature stable. Discard the rinse water before adding grounds.
Why is my Chemex draining so slowly?
Slow drainage usually means your grind is too fine or your filter is clogged with fines. Grind a step coarser, toward coarse sea salt, and pour more gently to avoid dragging particles into the paper. Also confirm the triple-fold side of the filter sits over the spout, since a collapsed filter blocks the air channel.
What grind size is best for a Chemex?
Grind medium-coarse, slightly coarser than a cone pour-over like a V60. The thick bonded filter slows water flow, so a coarser grind keeps the brew moving and prevents bitterness. Aim for a texture like coarse sea salt. If the cup tastes weak and sour, tighten the grind one notch and taste again.
Brewing a great Chemex is really just patience plus a scale. Rinse the filter, respect the ratio, grind medium-coarse, bloom, and pour slowly. Do that and you will pull a clean, bright cup that makes good beans sing, morning after morning. Keep a small log of your numbers so every improvement sticks. When you are ready to branch out to other methods, browse my more brewing guides and keep experimenting.
Keep brewing
Dial in your next cup with Brew Better Co.
Tested ratios, methods, and gear notes from a real home kitchen. New guides added regularly.
Explore all guides